Pruno: Classic Prison Hooch

When we think of pruno, images of a bag of baby barf might come to mind. But what would a really nicely made batch of commonly available prison condiment-based ingredients actually taste like?

We took that question to heart and decided to find out. The secret is the careful selection of ingredients, and as always scrupulus attention to a degree of cleanliness probably unavailable in the imprisoned brewer’s situation.

Ingredients

IngredientAmount
Fruit salad cups10
Orange juice cups20
Sugar packets100
Ketchup packets50
Baker’s yeast5-10 grams
WaterAbout 3 liters

The most crucial aspect of making quality pruno is obtaining a fresh supply of bakers yeast. Pruno makers that rely on the natural organisms in the ingredients or the air risk creating a beverage that is not only unpalatable, but also potentially poisonous.

In the informal barter economy of correctional facilities, yeast is considered a high-value, high-risk contraband item because it drastically speeds up the fermentation process compared to relying on wild yeast. Because the cook faces steep penalties if caught smuggling it out of the kitchen, the cost is usually quite high. A convenient bartering item is typically the cigarette.

Here is how the trade usually breaks down:

The Going Rate

The AskEstimated Cost in “Squares” (Cigarettes)Notes
A pinch of yeast (enough for a small batch)5 to 10 cigarettesUsually slipped into a pocket during kitchen detail.
A full packet of yeast1 to 2 full packs of smokes High risk for the cook; requires deliberate theft from kitchen inventory.

Key Barter Dynamics

  • The Risk Premium: The price fluctuates entirely based on how strictly the guards are monitoring the kitchen. If a shakedown (cell search) was recent, prices can be quite high.
  • The Alternative: If cigarettes aren’t the preferred currency (especially in modern smoke-free facilities), the standard replacement is instant coffee packets, soups (ramen), or premium pouches of fish like tuna or mackerel.
  • The Quality Factor: Trading for actual bread yeast is a major upgrade. Without it, a batch relies on “the kicker”—moldy bread or raw fruit skins—which takes twice as long and significantly increases the chances of brewing something that tastes and smells like a used diaper. While it may result in a ferment high in fusel oils and bready flavors, it will outcompete spoilage organisms and complete a fermentation in days, a crucial factor when a cell shakedown may occur at any time

Of course the non-incarcerated brewer needs only to drop by the baking section of a nearby grocery store to pick up a packet of baker’s yeast. The prison-authentic brand in this circumstance is Fleishmann’s Active Dry Yeast

A Note on Fermentation Safety: In real-world settings, fermenting random sugar sources with wild organisms or baker’s yeast in unsanitary environments carries a distinct risk of producing off-flavors, visual spoilage, or pathogens like Clostridium botulinum if low-acid ingredients (like potatoes) are thrown into the mix. Take care with sanitation!

Other Ingredients

In a correctional facility, acquiring these items without detection relies on exploiting the predictable aspects of institutional food service and commissary distribution. Because these specific ingredients are universally recognized by staff as the constituents of contraband alcohol, corrections officers actively monitor their accumulation.

Successful acquisition depends on three primary methods: strategic hoarding, institutional diversion, and a decentralized supply chain.

1. Exploiting the “Tray Return” Loophole (Fruit and Juice Cups)

In facilities where meals are served on plastic trays directly in the housing units or a central chow hall, the window between receiving food and returning the tray is the primary window for diversion.

  • The Consumption Bluff: Inmates typically consume the hot items immediately and leave the sealed fruit or juice cups on the tray. During the chaotic period when hundreds of inmates are clearing their trays at the scullery (dishwashing area), these sealed cups can be slipped into oversized clothing or waistbands.
  • The “Trash” Diversion: Kitchen workers on scullery duty have direct access to trays before they are scraped into the garbage. They may be able to intercept unopened fruit or juice cups destined for the trash, staging them in clean trash liners or mop buckets to be moved out of the kitchen later.

2. The Institutional Kitchen Diversion (Bulk Sugar and Ketchup)

While single-serve ketchup and sugar packets are sometimes distributed with specific meals, acquiring them in the quantities required for a fermentation mash usually requires inside access to the main kitchen area.

  • The “Trash Out” Method: Bulk ingredients or boxes of packets are rarely walked out of a kitchen door in a pocket. Instead, kitchen workers stash the goods inside a double-bagged trash bin beneath actual food waste. When the trash is wheeled out to the main dumpsters or loading dock—areas with lower guard density—a partner retrieves the hidden stash.
  • The Tool/Cleaning Cart Concealment: Hollow handles of industrial floor squeegees, the undersides of rolling mop buckets, or the interior panels of maintenance carts are used to transport dense, heavy items like sugar out of the secure kitchen perimeter.

3. Decentralized Layering (The Commissary Route)

The safest way to get sugar without raising immediate red flags is purchasing it legally through the commissary or canteen, but high-volume purchases of sugar by a single individual instantly trigger a cautionary flag for potential brewing.

  • Smurfing (Distributed Purchasing): To avoid detection, a single organizer will “hire” multiple other inmates who do not brew to buy their maximum allowed limit of sugar packets, candy, or sweet beverages on their respective commissary days. In exchange, these purchasers are paid in standard prison currency (coffee, soups, or tobacco).
  • The Stash Decentralization: The raw ingredients are never stored in the cell where the actual fermentation will take place. They are scattered across multiple cells or hidden in common-area blind spots (like laundry rooms or recreation voids) until the exact moment the mash is mixed.

The Institutional Countermeasures

Because these methods are well-known to security staff, facilities implement specific friction points to disrupt them:

  • “Pop and Pour” Policies: Many high-security units require inmates to open and consume or pour out juice and fruit cups in front of staff at the tray line to prevent them from leaving the chow hall intact.
  • Strict Sugar Rations: Commissaries frequently limit sugar purchases to tiny fractions or ban white granulated sugar entirely, forcing the use of complex carbohydrate alternatives like clear hard candies or syrupy drink mixes, which are more difficult to ferment quickly.

Fermenting Pruno Successfully

In an institutional environment, the fermentation procedure is defined by two competing pressures: the need for absolute concealment and the biochemical reality that yeast requires specific conditions to produce alcohol.

Since standard brewing equipment is unavailable, the process is adapted to use improvised materials, relying on rapid, aggressive fermentation over flavor quality. The preferred piece of equipment in this case is the resealable plastic baggie.

Because large resealable bags are universally recognized by staff as the ideal fermentation vessels for contraband pruno, their posession is treated with great suspicion. Getting a pristine, heavy-duty 1-gallon slider or freezer bag out of an institutional kitchen or through the commissary requires a premium, as it is a critical piece of the fermentation process.

In the institutional barter system, the going rate for a large bag depends entirely on its thickness and closure mechanism:

The Going Rate

Bag TypeEstimated Cost in “Squares” (Cigarettes)Notes
Standard 1-Gallon Storage Bag (Thin plastic, pinch seal)2 to 3 cigarettesEasy to pierce or pop under pressure; requires careful venting.
1-Gallon Freezer Bag (Heavy-duty, 2.7 mil plastic)5 cigarettes / 1 standard fish pouchHighly prized because the thicker plastic withstands gas expansion better.
Slider-Top Gallon Bag or 2-Gallon Jumbo BagHalf a pack to a full packThe gold standard. Large volume means bigger yield; slider makes manual venting easy.

Key Barter Dynamics

  • The Durability Premium: Cheap, generic sandwich bags are practically worthless for brewing because the seams split as the yeast starts producing carbon dioxide (CO2). Heavy-duty name brands like Ziploc command a premium because the blowout of a cheap bag means losing the entire batch and getting caught due to the smell.
  • Alternative Sourcing: If large plastic bags are completely unavailable or too tightly controlled, the economy shifts toward clean, institutional-sized empty chip bags, heavy plastic distilled water jugs from medical/canteen supplies, or double-layered trash liners intercepted from janitorial carts.

Having obtain the necessary ingredients and equipment, the brewer proceeds to the next steps in the process.

Step 1: The Mash Preparation (Sugar Dissolution)

The first step requires breaking down the solid ingredients and creating a fermentable liquid, colloquially known as the “mash.”

  • Maceration: Fruit salad segments and any available fruit slices are placed into the large, heavy-duty plastic bag and manually crushed into a pulp. The contents of the orange juice cups and ketchup packs are added.
  • Thermal Dissolution: Raw sugar, candy, or syrup from the salad cups must be dissolved completely, as yeast cannot process crystalline sugar efficiently. Since boiling water is unavailable, makers use hot tap water or water heated with an improvised immersion heater (a “stinger”) to dissolve the sugars into the fruit pulp until the baggie is sufficiently full. Keep in mind that the baggie must not be filled to the top so the contents are not spilled during the burping phase.
  • Cooling: The mixture must be allowed to cool to ambient temperature (roughly 20°C to 30°C). If the yeast is pitched while the liquid is too hot, the cells will die instantly, ruining the batch.

Step 2: Pitching the “Kicker”

Once the mash is lukewarm, the fermentation agent is introduced.

  • Active Dry Yeast: If commercial baker’s yeast was successfully acquired, it is mixed with a small amount of warm water and a spoonful of sugar to ensure it is viable (foaming) before being poured into the main bag.
  • The Improvised Alternative: If pure yeast is unavailable, a “kicker,” such as unwashed fruit skins, is added. In either case the bag is then sealed tightly, and the contents are thoroughly shaken to aerate the liquid, providing the yeast with the oxygen necessary for initial cellular replication.

Step 3: Managing Active Fermentation (The “Burping” Phase)

Active fermentation begins within hours if commercial yeast is used, and within 24 to 48 hours with a wild starter. As the yeast consumes simple sugars, it converts them into ethanol and carbon dioxide gas (CO2).

  • Gas Expansion: Because the fermentation takes place in a sealed plastic bag or juice jug, the accumulation of CO2 causes the container to inflate rapidly. If left unmanaged, the pressure will rupture the container.
  • The “Burping” Process: To prevent an explosion that would alert staff, the maker must periodically vent the gas. The top of the bag or the cap of the jug is slightly loosened several times a day to allow CO2 to escape without letting ambient oxygen back in (which would encourage acetic acid bacteria to turn the alcohol into vinegar).
  • Insulation: To maintain an optimal fermentation speed, the bag is often hidden in a warm, dark place—such as wrapped in a laundry bag, hidden beneath bedding, or placed near a heating vent.

Step 4: Separation and Consumption

Because speed is prioritized over quality to avoid detection during random cell searches, the fermentation is rarely allowed to go to completion. It is typically halted after 3 to 7 days.

  • Straining: The liquid is separated from the spent fruit pulp and dead yeast sediment (lees). This is usually done by pouring the mixture through an improvised filter, such as a clean tube sock, a piece of prison uniform, or a laundry bag.
  • The Finished Product: The resulting liquid is cloudy, highly acidic, carbonated, and contains a high concentration of fusel alcohols and residual sugars. The alcohol by volume (ABV) typically ranges anywhere from 4% to 10%, depending entirely on the initial sugar concentration and how long the batch survived before discovery.

Concluding Thoughts

So there you have it. Follow these steps to make your own authentic prison hooch. A word of caution though: don’t actually try this if you happen to be in prison. In fact, proceed with caution no matter what your circumstances. We are not responsible for accidents! May God have mercy on your soul!!

Tracing the Roots of California Craft

I was raised in the San Francisco Bay Area, about 5 miles from Stanford University campus in Palo Alto. At that time Stanford had an agreement with the city that there would be no bars or liquor stores within a certain distance from the campus. But this arrangement didn’t apply to the next town over, Menlo Park. So, very close to the campus, there were two beer and burger joints that were big hangouts.

The Dutch Goose as it would have appeared to Fritz Maytag

These were The Dutch Goose, on Alameda de las Pulgas, and The Oasis on El Camino Real. Both of them served draft Anchor Steam Beer. (The Goose is still there, much gentrified, but The Oasis is sadly gone.)

The Oasis, shortly before it closed


In 1968 though, Anchor Steam was amazing. I soon discovered another place that served it in San Francisco: The Old Spaghetti Cafe and Excelsior Coffee House in North Beach. (The original, not the chain imitator.)


The “Spag Fac” was actually an old spaghetti factory filled with antiques. A full dinner could be had for $2.25. For this reason it had been a favorite hangout of hipsters and beatniks for years, and they poured Steam beer from Anchor’s ancient Golden Gate style kegs. I hung out there too, with a pint or two before a folk music show at Coffee and Confusion around the corner.

The Old Spaghetti Factory

I was hooked on good beer, but it was expensive. A bottle of Guiness could set you back more than fifty cents in 1973! At that time a half a buck could buy two gallons of gas!
So as a UCSB student with a taste for good beer and no money, I was intrigued when I discovered a Santa Barbara store called Wine Arts, and saw that they sold beer making supplies. The proprietor was very helpful, and sold me a book by home brewing pioneers Stanley Anderson and Raymond Hull. For ingredients I bought two cans of John Bull Extract, a pound of crystal malt, Fuggles hops, and Vierka Munich yeast. Following the instructions from the book, I ended up with a beer that tasted very much like Anchor Steam! This started my 50 year love affair with craft beer.
When I moved back to the Bay Area, I found that others shared my passion, and soon home brewing stores started to appear in towns like San Jose, Morgan Hill, Los Altos, and Palo Alto. There I found an Englishman’s guide to beer brewing to add to my library.

In liquor stores I started to see Anchor Steam in bottles. Brands like New Albion, DeBakker, Golden Bear, Palo Alto Brewing, and Pete’s appeared next to them not long after. Most of these are long gone, some due to undercapitalization, others due to mismanagement. Their proprietors were, after all, home brewers with little business operation experience. (It’s worth noting that home brewer Pete Slosberg chose to contract the brewing of his Wicked Ale out to August Schell Brewing in New Ulm, MN, making it widely available.)

The owner of the home brew supplies store in Chico, however, showed how it was properly done. Ken Grossman’s secret to success: learn how to do everything in an industry where there were limited supplies, equipment, and talent. Then work 12-hour days, seven days a week, for 20 years. Bring the kids to the brewery on Sundays to play among the piles of equipment and materials. Simple! Thus was born Sierra Nevada Pale Ale.

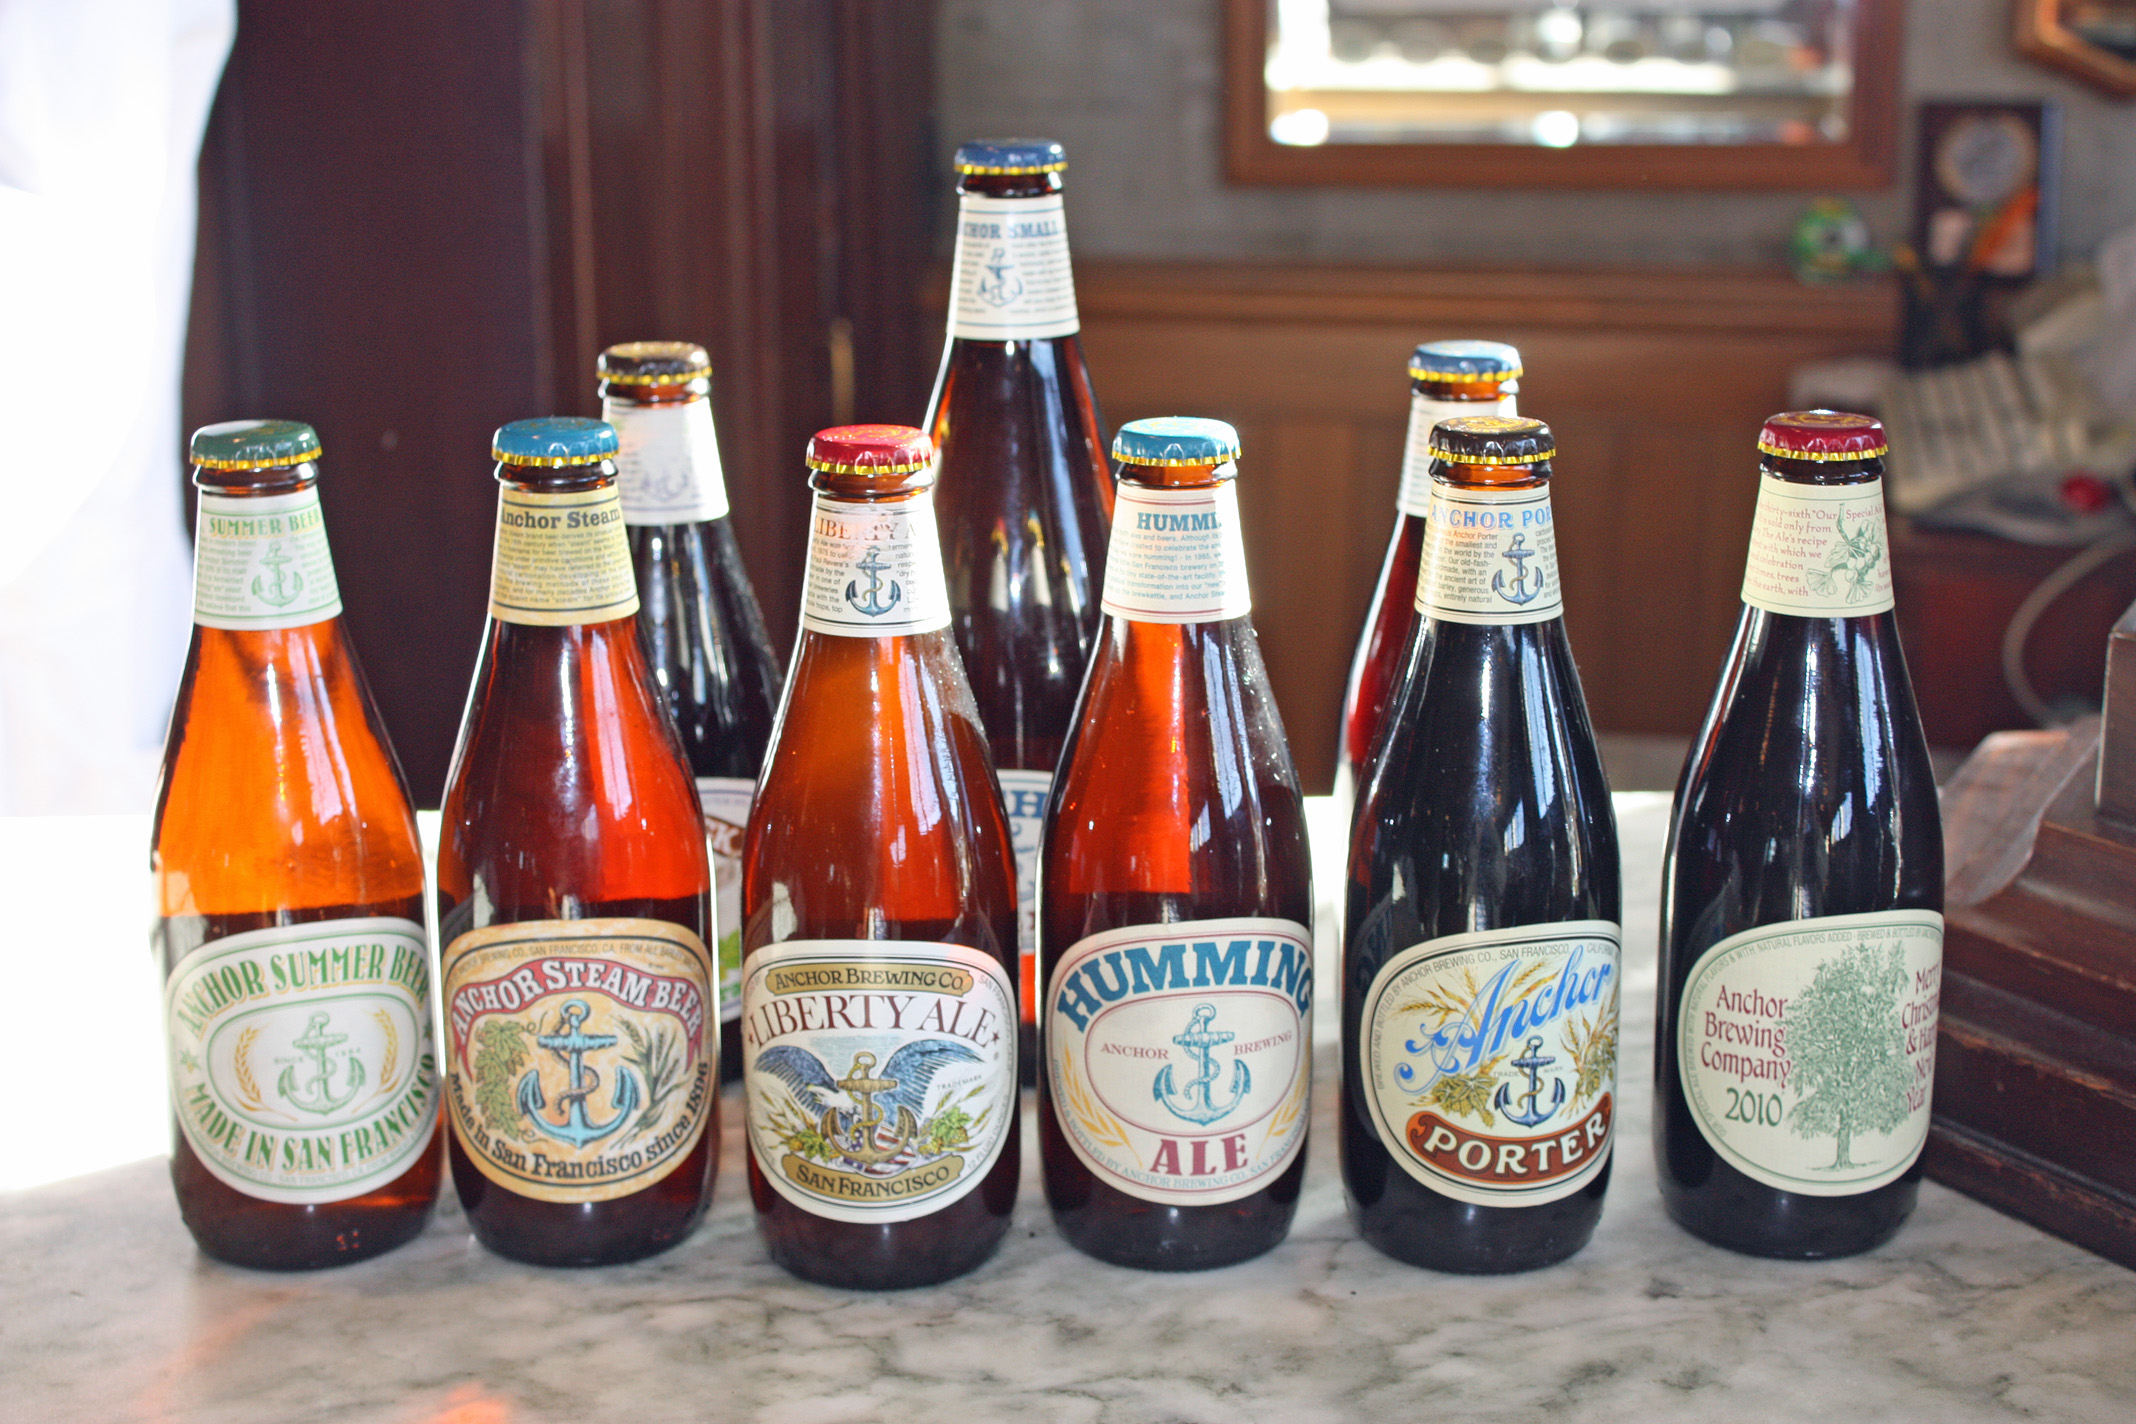
Fritz Maytag, meanwhile, was also showing the industry how it was done. As a Stanford student Fritz haunted The Oasis and Dutch Goose, where, despite its inconsistency he learned to love Anchor Steam Beer. When he heard the company was failing due to falling sales, he bought the place! As the story goes, Fritz was eager to update the Steam Beer recipe, and was visited first by a salesman offering him samples of a new type of crystal malt, and then by one who suggested Northern Brewer hops. He incorporated them both into his new recipe. With its success assured, Anchor Brewing moved to the former MJB coffee roastery, a wonderful Art Deco edifice in the Potrero District of San Francisco.

I visited the by-then well-established brewery in 1985. The place was a veritable museum of San Francisco brewing history. There was lots of Anchor breweriana, as well as signage and artifacts from SF breweries of the past. We didn’t get to meet Fritz, but we saw his lab, and it was clear from that how dedicated he was to maintaining the quality of his brew.
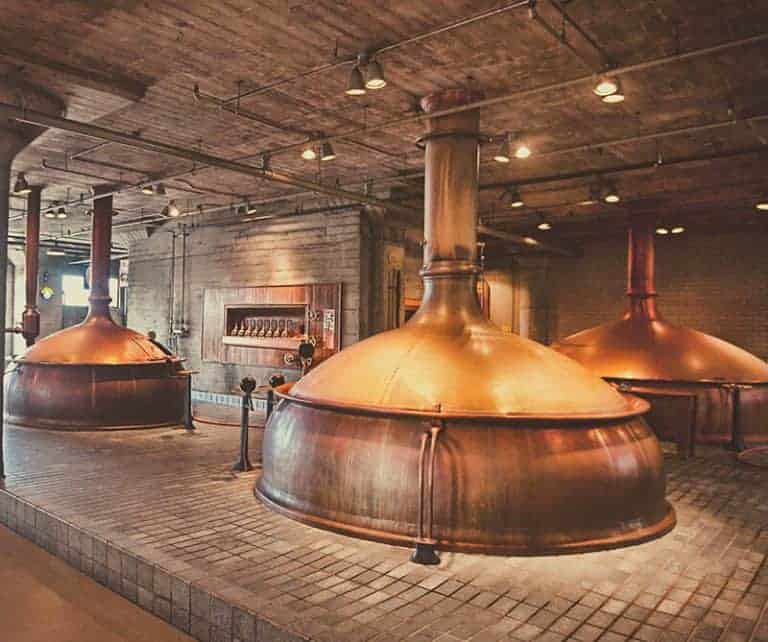
We saw the incredibly beautiful all-copper brewhouse he’d imported from Germany. We saw the antique bottling line, and the filling equipment for Anchor’s 1950s Golden Gate kegs.

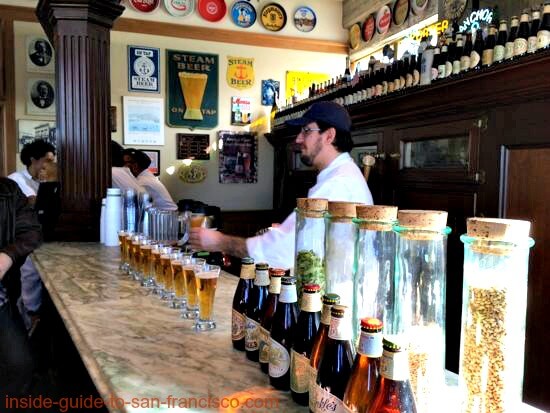
But the best part of the tour was Anchor’s tasting room, centered around an ancient bar from San Francisco’s Barbary Coast past. On this Winter Solstice afternoon in 1985 the sun poured through the clerestory windows behind the bar, and lit up the dark amber and ruby highlights of my glass of Old Foghorn barley wine. It was a moment I’ll never forget.


Epilogue: I recently had a chance to taste an Old Foghorn that had been cellared for 25 years. It was magnificent, a true testament to the meticulous care that Mr. Maytag applied to his brewing.
We compared it to a similarly aged pony bottle of Old Crustacean from Rogue Ales that had definitely seen better days. Thanks Fritz!

Update The Anchor Brewing Company, closed since 2023, has had it’s intellectual property, assets, brands and real estate purchased, and pending the resolution of some structural issues in the building is slated to reopen some time in the near future, hopefully before the end of 2025.

Cherry Kola Coca Soda

Cola is a carbonated soft drink traditionally flavored with kola nuts, coca leaf, lime juice, vanilla, citrus oils, and other flavorings. The drink typically includes caffeine, and modern colas often use synthetic flavoring.

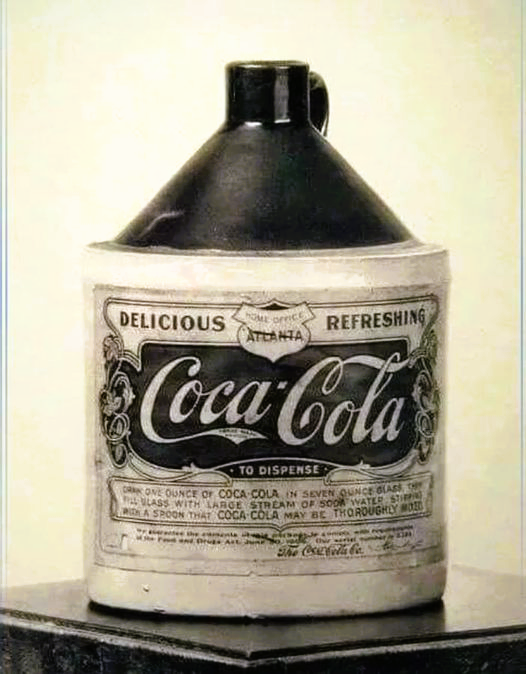
Coca-Cola was invented by Dr. John Pemberton, a pharmacist in Atlanta, Georgia, in 1886. He received a sabre wound in the US Civil War, and suffered from chronic pain which he treated with morphine, leading to an addiction. He attempted to alleviate this with a mixture of coca leaf extract and alcohol, similar to the French beverage of the time called coca wine.  He later adapted the recipe to make Coca-Cola. This syrup was sold to pharmacies and soda fountains, where it was mixed with carbonated water to make the familiar fizzy drink.

Kola

Kola nuts

Kola nuts come from a  tree native to the tropical rainforests of Africa. High in caffeine, kola preparations have been traditionally used in ceremonies and as a flavoring ingredient.

Coca

Coca tea

Coca leaves, primarily from the Erythroxylum coca plant, have been traditionally used in medicinal preparations to alleviate altitude sickness, stomach pains, or hunger.

In the Andes, coca leaves are chewed, or brewed as tea as a social drink. Coca matcha is prepared by whisking leaf powder into hot water, creating a frothy green drink with a singular, unique taste. It is a mild stimulant similar to coffee.

Traditional cola

The basic cola recipe consists of three components. These are an extract of kola nut and coca leaf, a sweet syrup of water flavored with lime juice, vanilla and phosphoric acid, and an essential oil tincture known in Coca Cola parlance as “7X Flavor”. This version of cherry cola substitutes fruit juice for the water in plain cola.

Kola-coca extract

AmountIngredient
15 grKola nut powder
28 grCoca matcha
200 mlVodka 50%  ABV

Mix the powders with the alcohol and let this mixture soak for several days to several weeks. The extract can be decanted off the top of the powders, which can be resoaked up to three times. Adjust the amount of extract added to the recipe to account for its lessening potency.

Kola powder is readily available for purchase online. Coca matcha can also be purchased online, though it may take a bit more hunting to find. Check your local laws as to its legality in your region. Coca matcha has a very distinctive flavor, and there’s no real substitute among natural herbs.

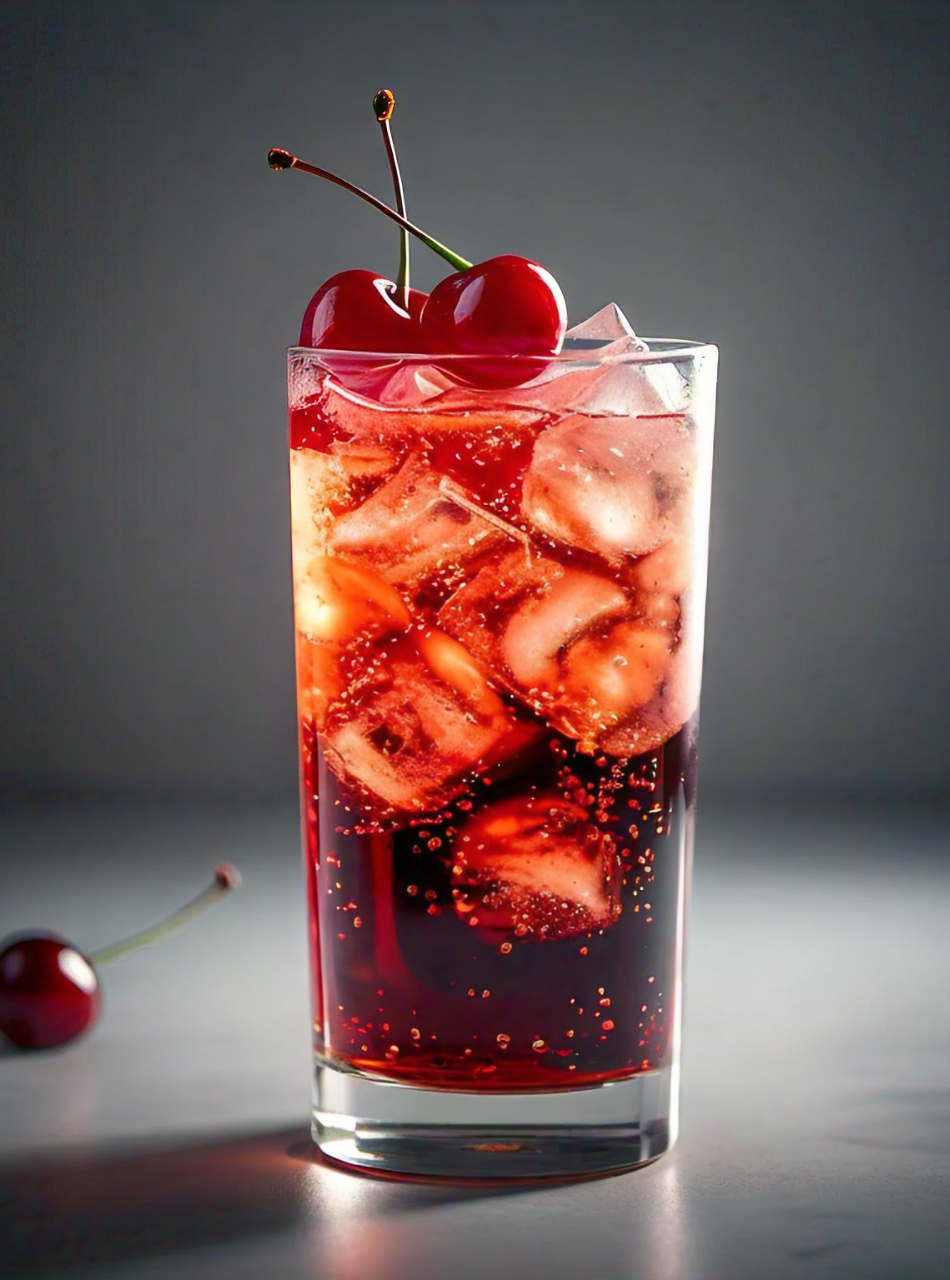
Cherry cola

Cherry-flavored sodas have been around since the late 1800s, when soda fountains would mix cherry syrup into their cola drinks. The official release of Cherry Coke as we know it today was in 1985 and it quickly became a favorite among cola enthusiasts.

Juice syrup

AmountIngredient
20 gramsWild cherry bark
200 mlWater
250 mlLime juice
9.5 gramsPhosphoric acid
10 mlVanilla
3 litersApple-cherry juice
1.25 kgCane sugar

Simmer the wild cherry bark in the water for 20 minutes, and strain out the solids. Heat the juice and sugar mixture to 75C (167F) and allow this  to cool under cover. Add together the juice syrup, the bark extract, lime juice, acid, and vanilla into a jug.

Flavor tincture

AmountIngredient
6 DropsLemon oil
4 DropsOrange oil
2 DropsCoriander oil
2 DropsNutmeg oil
2 DropsCinnamon oil
1 DropNeroli oil
50 mlNeutral spirit (75-95% ABV)

Mix the oils with a neutral spirit such as Everclear, 24 to 48 hours prior to final mixing of the syrup. This will allow the oils to be fully dissolved into the spirit.

Kola Coca syrup

AmountIngredient
50 mlKola coca extract
About 3.5  litersJuice syrup
17.5 mlFlavor tincture

Add together the extract and tincture into the jug with the juice syrup. Top the mixture up to four liters. The kola coca syrup is now ready to mix with carbonated water. A ratio of 10% to 20% syrup to 80%to 90% water (adjust to taste.)

そば Soba Shochu: Japanese Buckwheat Liquor

Buckwheat is cracked and steamed to make groats

Soba Shochu is a traditional Japanese liquor made from buckwheat. It’s a single-distilled liquor, of a type known as Honkaku Shochu.

The flavor of soba shochu is dominated by the nutty, grainy aroma of buckwheat. It has a mild sweetness, and a smooth finish. Umami notes of sesame, peanut butter, cereal, and peach are sometimes also present, along with herbal or vegetal tastes, particularly when its starter, or moto, uses rice or barley koji

Soba shochu was first developed in the 1970s in Miyazaki prefecture, owing to the prominence of buckwheat farming there, as well as in Nagano prefecture, which also produces a buckwheat crop and soba shochu.

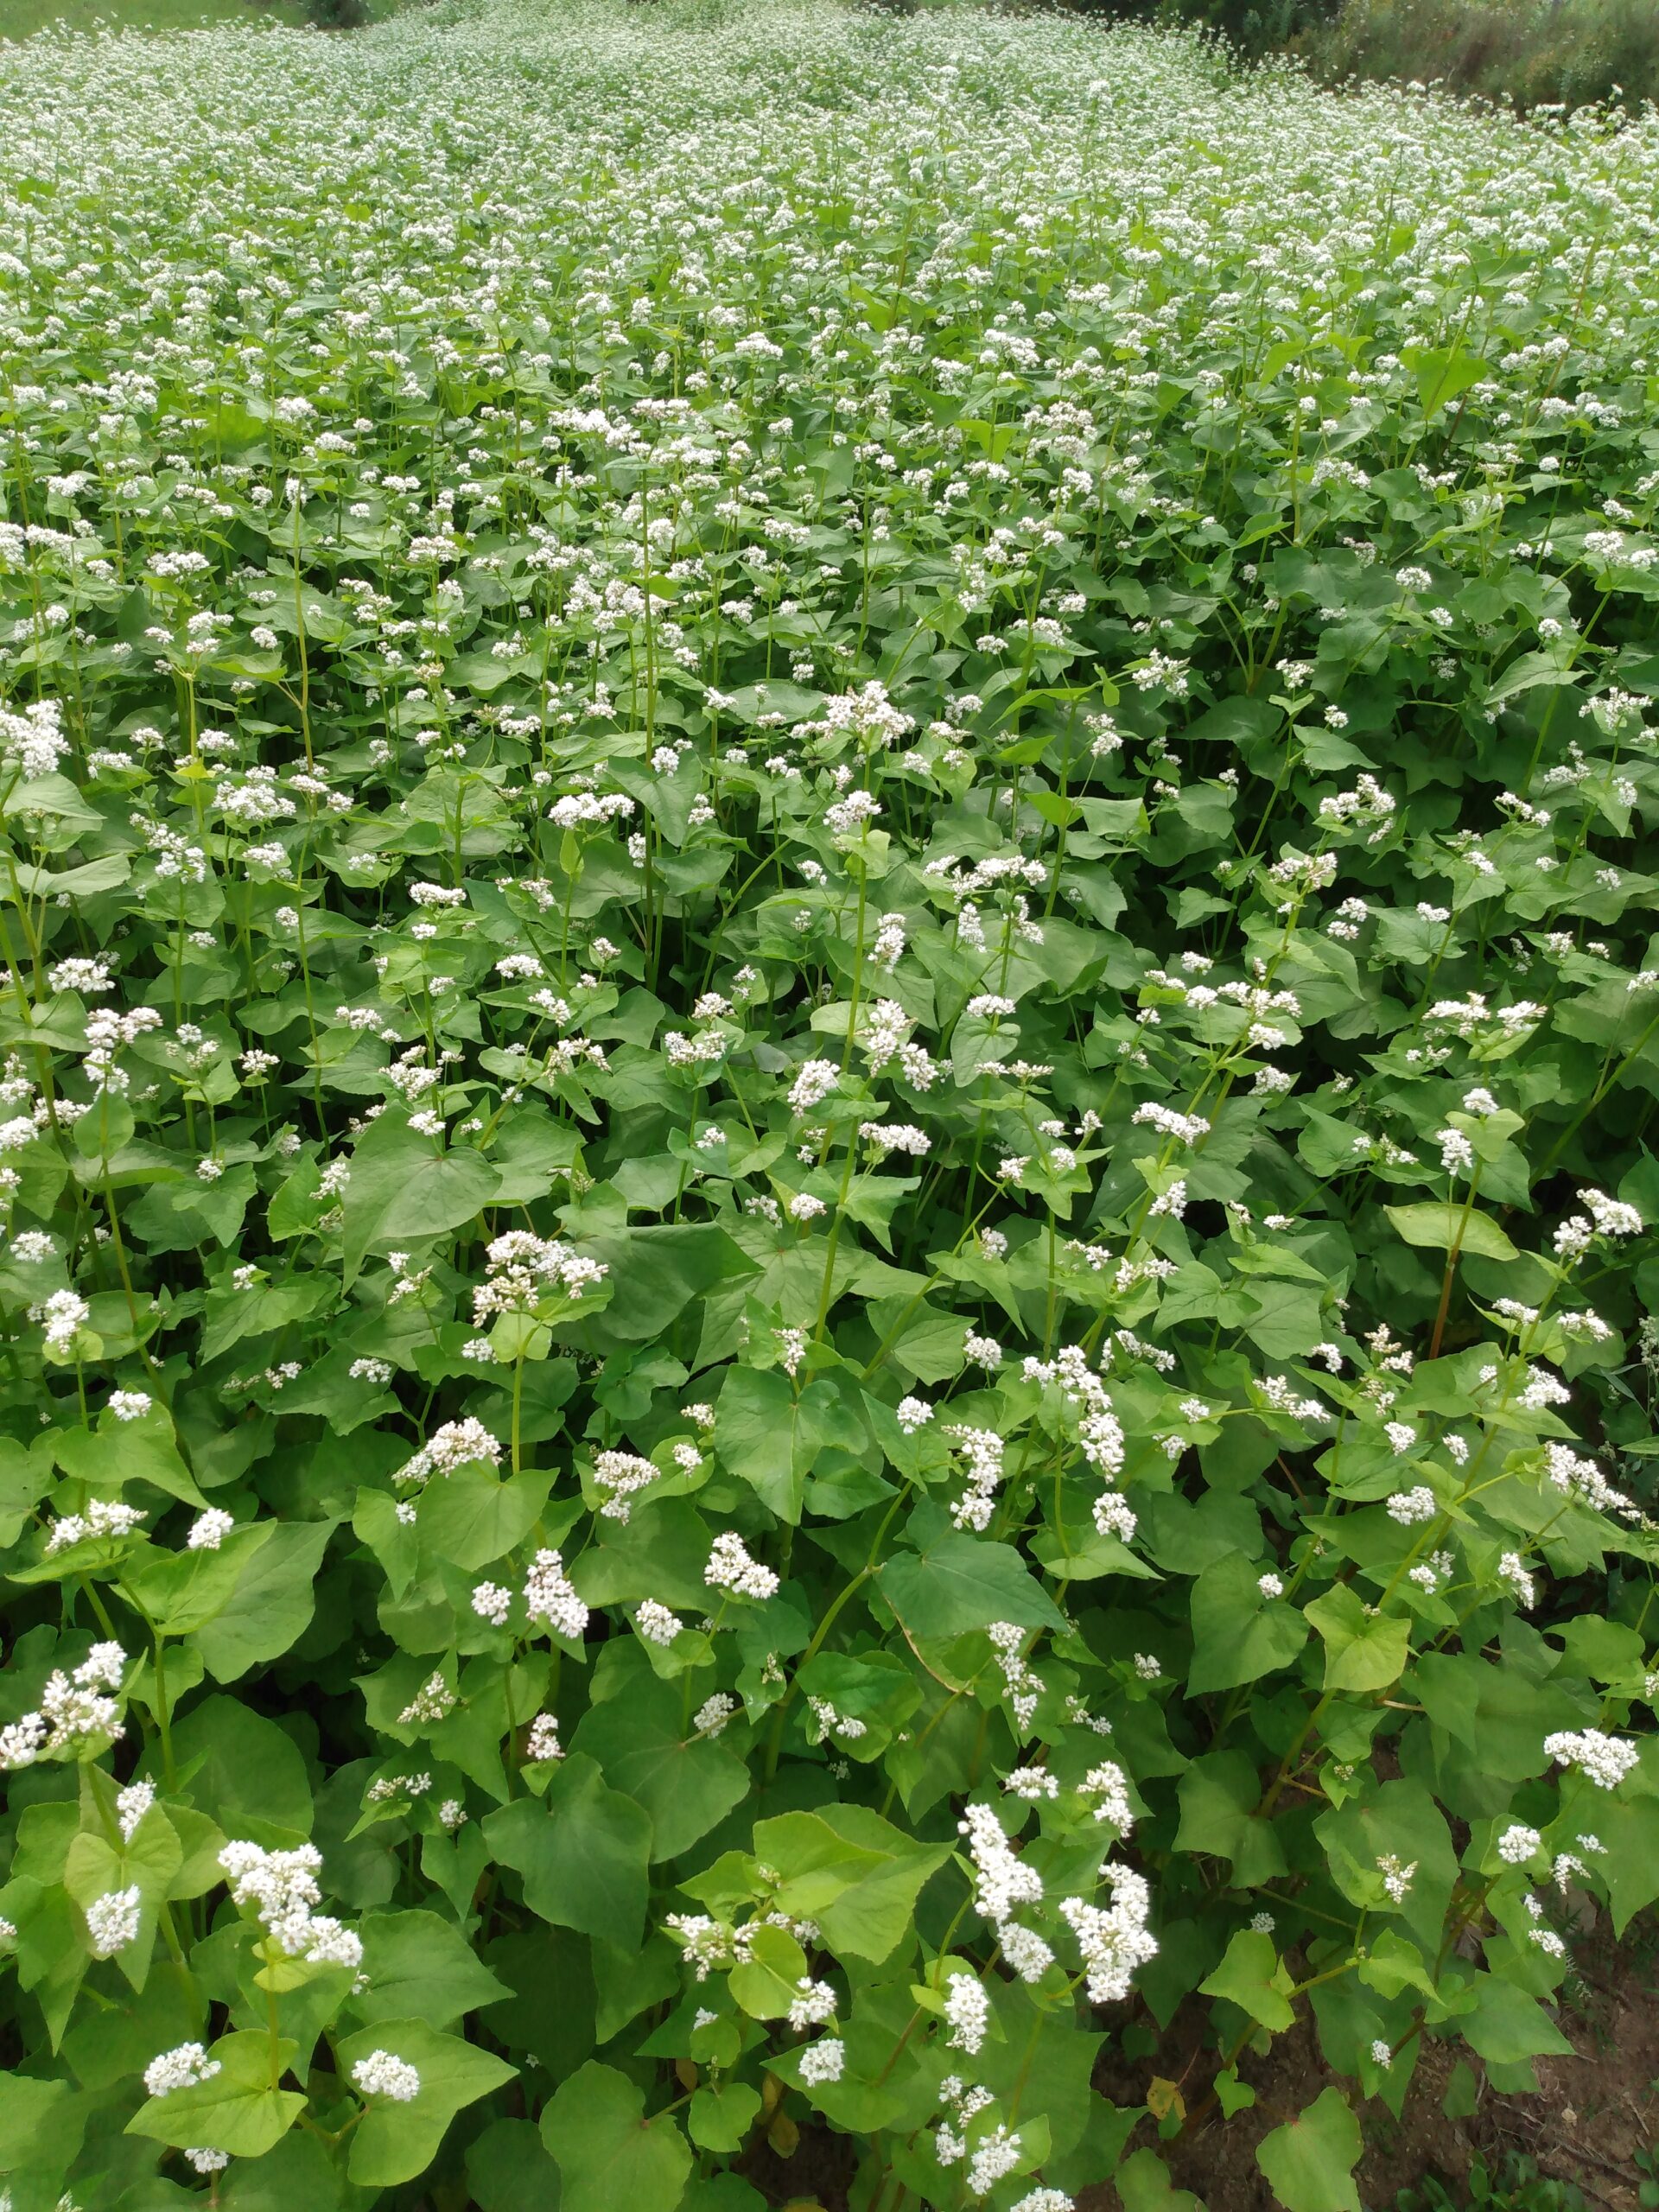
Buckwheat in bloom

The process of making soba shochu involves steaming buckwheat groats, and then adding it to a moto (starter) to create a moromi (mash). After 30 days, the mash is typically completely fermented. The mash is strained to remove the solids, leaving a liquid of about 5% alcohol by volume. The liquid is then distilled once, concentrating the alcohol content and flavor components. The result is a distillate of about 30% alcohol. The distillate is diluted to 23-28% with spring water.

Soba shochu pairs well with food such as pork-based dishes, soba noodles, fried oysters, chicken karaage, sesame chicken, and agedashi tofu.

Making Soba Shochu

This recipe is 100% soba, and uses buckwheat groats, which are grains that have been sorted, hulled, and cut into smaller pieces. To kick it off well it is necessary to build a good sized starter by inoculating a batch of soba groats with the kojikin spores, growing them into a sizeable colony of fuzz on the surface of the grains. The resultant starter grains (koji) will turn the grain starches to sugar, feeding the yeast.

Ingredients for 800ml

2 kg buckwheat groats

5 gr Vision Brewing Japanese kojikin

15 gr Cooper ale yeast

5 gr Contessa hops

4 L soft, iron-free water

Method

Make koji moto

Prepare 500g buckwheat groats by placing them in a sieve; wash with a water shower until the water runs clear. Use your hand to rake the grains and agitate any flour into solution and down the drain.

Put the grain in a pot and cover it with soft, iron-free water or deionized water. Soak the grain for one to two hours. The objective is to raise the water content to about 25 to 35 percent by weight. When a grain will crumble to a mash between finger and thumb, it is ready.

Pour the grain back into the sieve and allow it to drain for an hour.

Using a lidded pot that is of a size that will just accept the sieve, steam the grain with enough water for about one hour. Do not allow the grain to touch the water, and place a dish towel over the grain and under the lid to prevent condensed water from dripping onto the grain. After an hour test the grain for doneness. It should be slightly sticky, and of a chewy texture when bitten. It is important to get the correct consistency.

Turn the grain out on to a sanitized baking sheet. Fluff the grains to separate them, and allow to cool to 30 °C (86 °F.)

Stir the grains into a pot, mixing in the kojikin well. Cover the pot with a lid and keep it warm for 30 hours, stirring once every 10 hours. An oven with the light on works well.

Moromi (main mash)

Steam the remaining 1.5 kg grains as described above, and stir this into the pot along with 4 liters of water and the hops and yeast. Keep this mixture at a steady 20 °C (68 °F) for 30 days. For the first 10 days or so, stir the mixture up once a day, until the grains sink beneath the surface by themselves. Then stir the mash once a week for another three weeks. Keep it warm.

Put the fermented mash into a fine mesh bag, and suspend it over the pot until the contents are well drained. Overnight or longer if you can. Transfer the contents of the pot into the still. It should be about 4 liters.

Distill this filtered wash one time, discarding the first 50 ml of output. Collect the still runnings in a 2 liter bottle until the still head temperature reaches 95 °C (204 °F), about 700ml. Adjust the alcohol content to 25%-28% with spring water. Age for one to three months, shaking the bottle occasionally to add oxygen.

Serving Soba Shochu

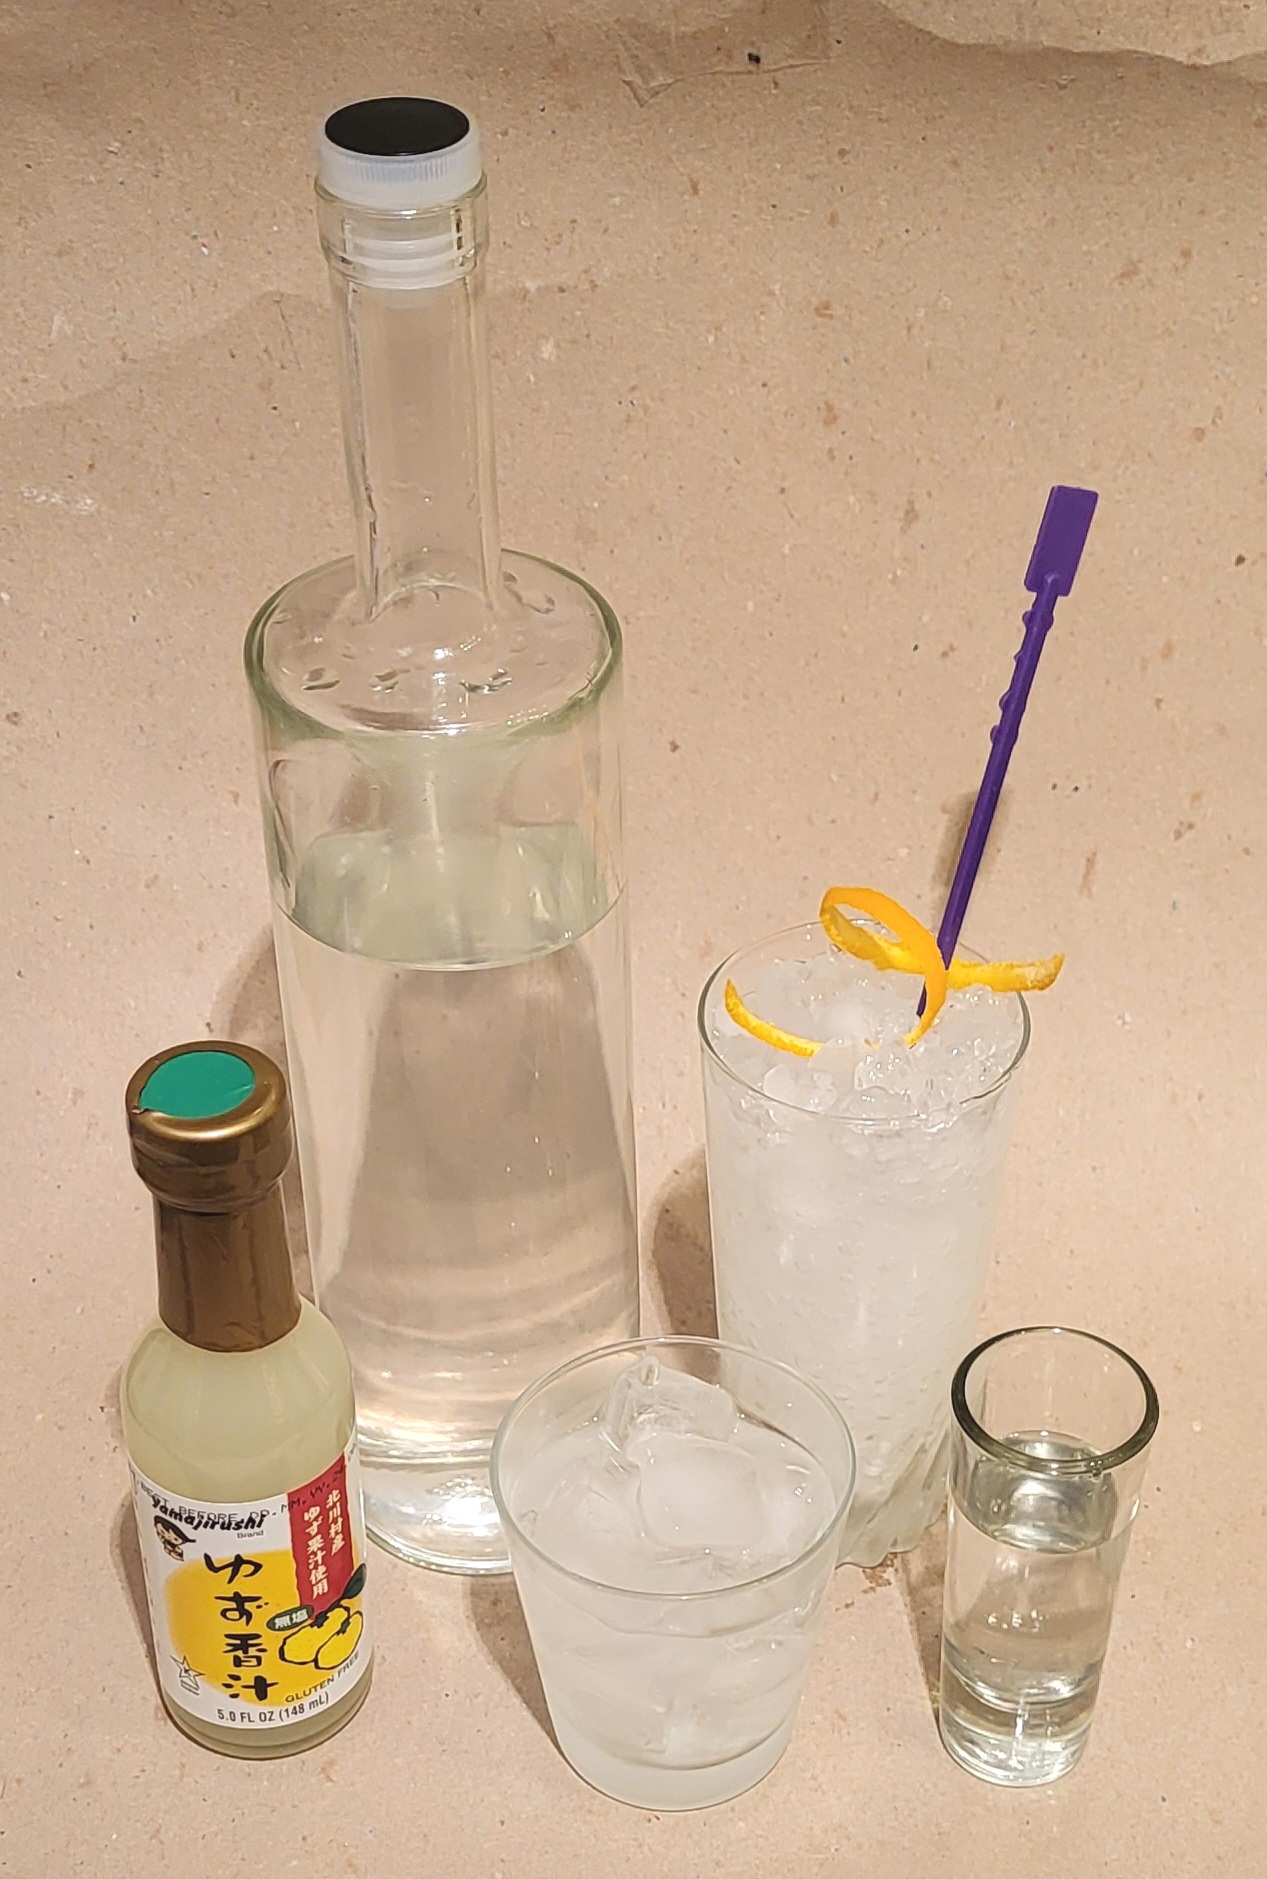
Soba shochu neat, rocks, highball

Serve soba shochu neat, on the rocks (rokkusu), or as a highball. Here’s a good one:

Fill a large highball glass with crushed ice, add:

Yuzu Soba Spritz

40 ml soba shochu

10 ml yuzu juice

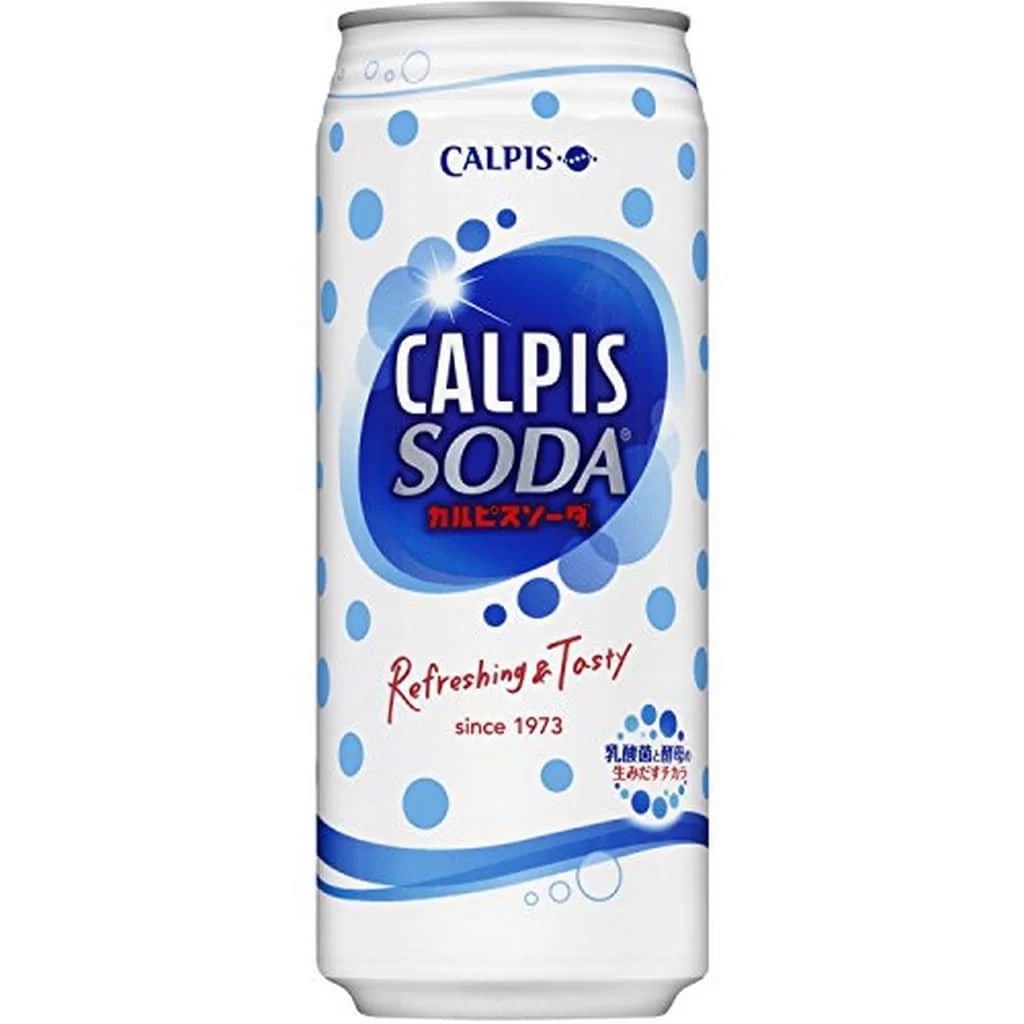
50 ml Calpis soda (also available as concentrate!)

乾杯! (Kanpai!)

Jasmine Rice Wine

Making alcoholic beverages by using rice as a source of fermentable substances has been practiced for millennia. The catch is, rice does not come with built-in enzymes to convert its starchy parts into sugar. In her grace though, Gaia has provided a magical way to create the transformation, in the identity of an interestingly flavored and aromatic mold.

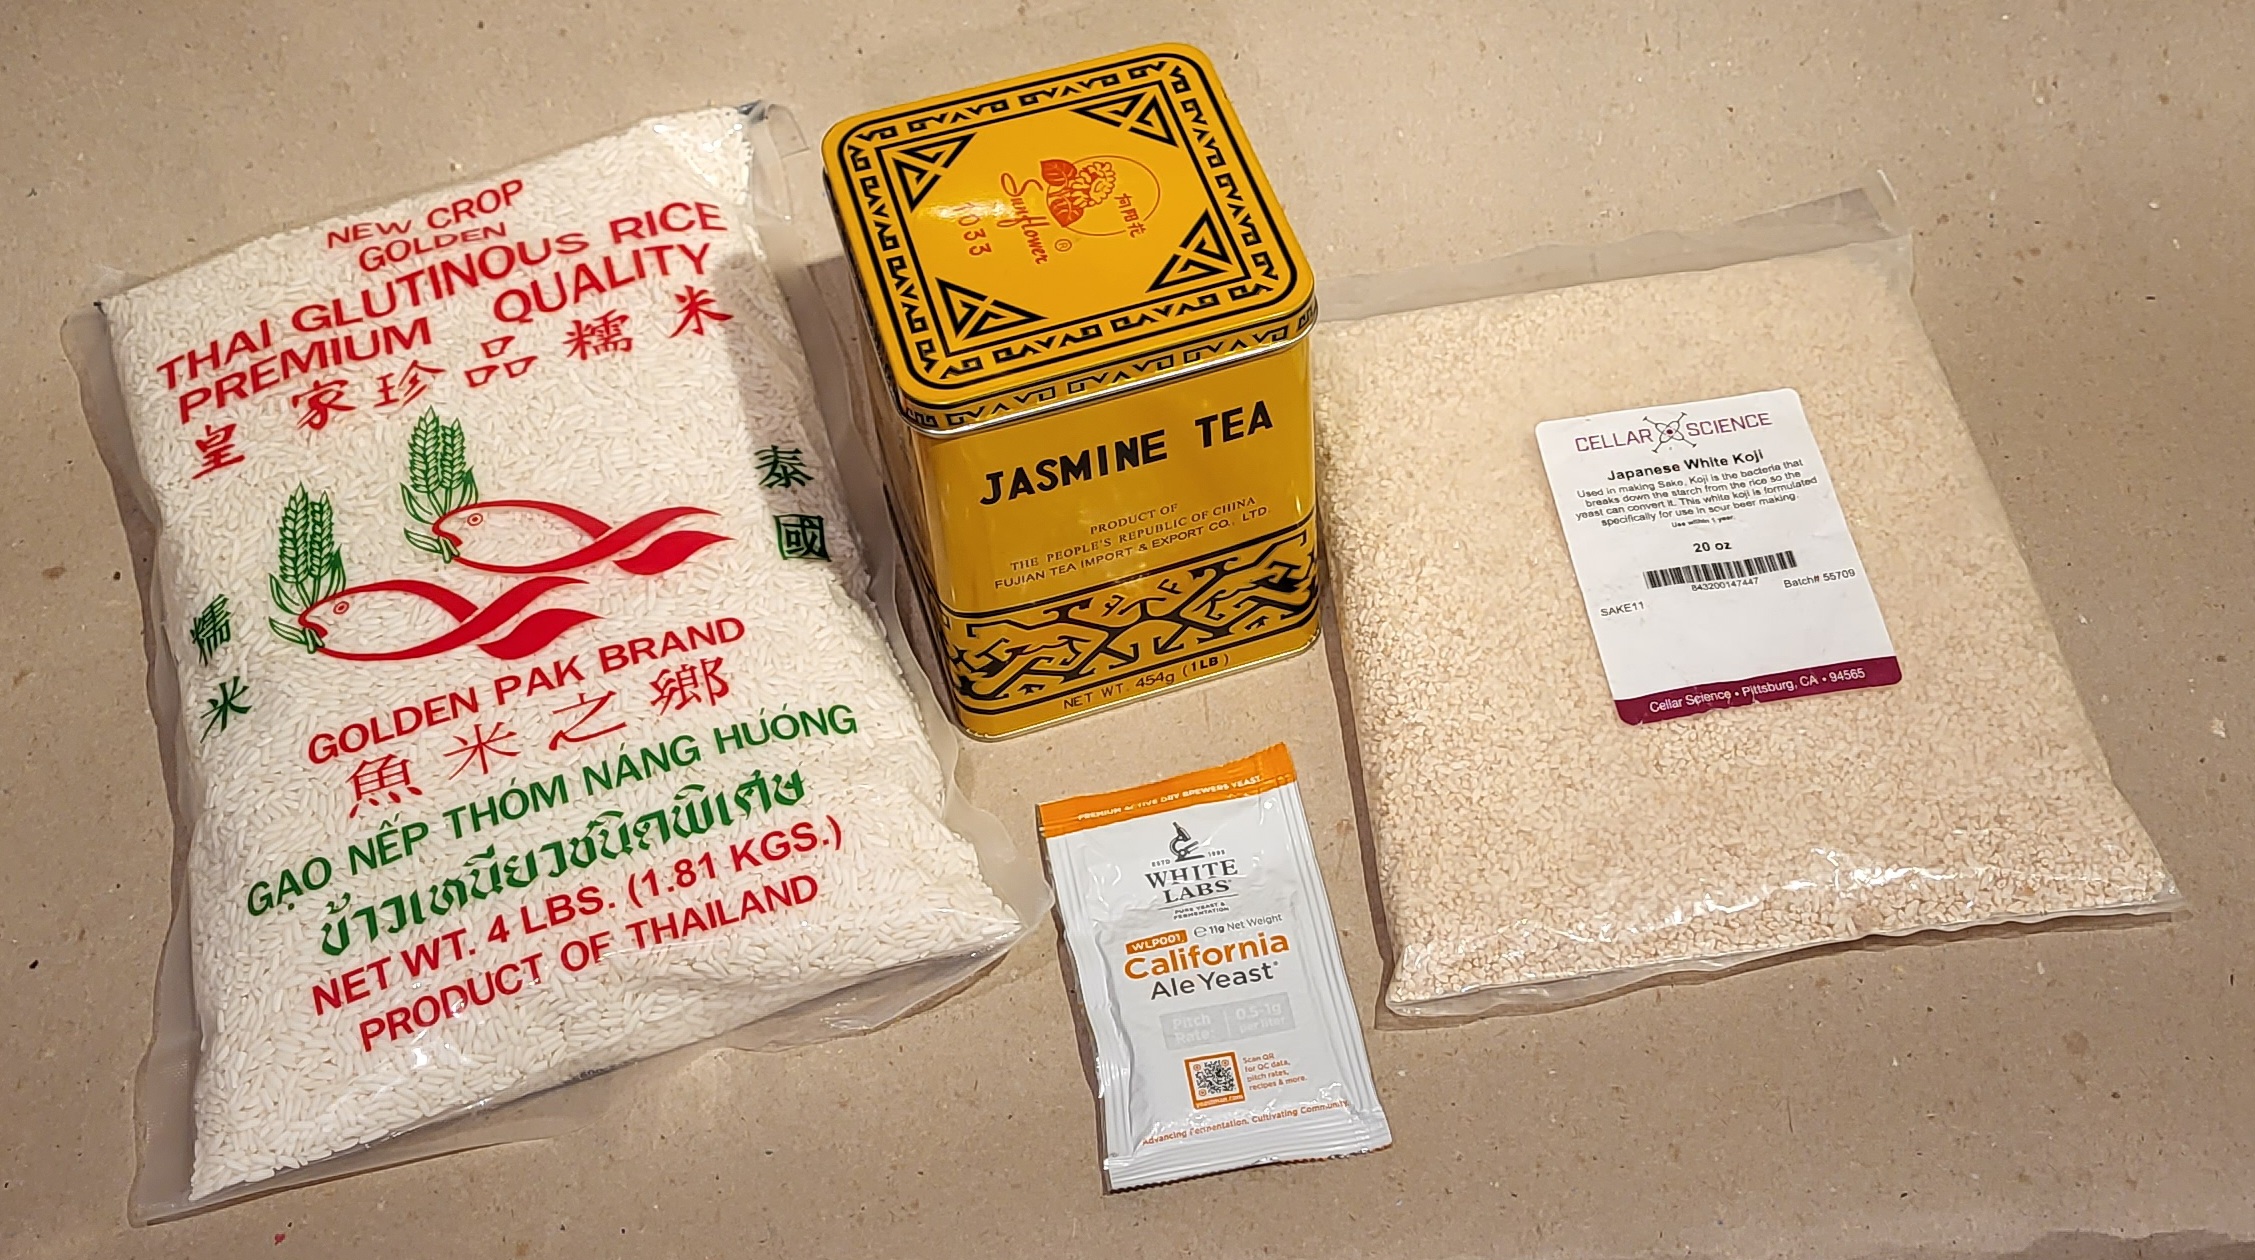
Four ingredients make this jasmine rice wine: Thai sweet rice, Chinese jasmine tea, Cellar Science (R) Japanese white koji, and White Labs California ale yeast.

Fermentations Using Rice

When the mold Aspergillus oryzae is grown on rice, it manufactures as part of its growth cycle the very enzymes needed to produce the sugars it will consume. And if a strong yeast colony is introduced into a watery mixture of moldy rice it takes these sugars instead, and turns them into alcohol.

The mold, however is quite particular about the condition of the rice it infects. To cultivate a thriving colony of malting mold careful attention must be paid to the process of cooking the rice.

Steamed Rice Instructions

For a four-liter batch of rice wine, start with about 1500 gr of rice. Place the rice in a large sieve and wash it with a water shower until the water runs clear from it. Use your hand to rake the rice and agitate any flour into solution and down the drain.

Put the rice in a pot and cover it with soft, iron-free water or deionized water. Soak the rice for one to two hours. The objective is to raise the water content of the rice to about 25 to 35 percent by weight. You can check this if you wish by weighing a quantity of rice before and after soaking. When it weighs 30 percent more, it’s done. Alternatively, if a grain of rice will crumble to a mash between finger and thumb, it is ready.

Pour the rice back into the sieve and allow it to drain for an hour.

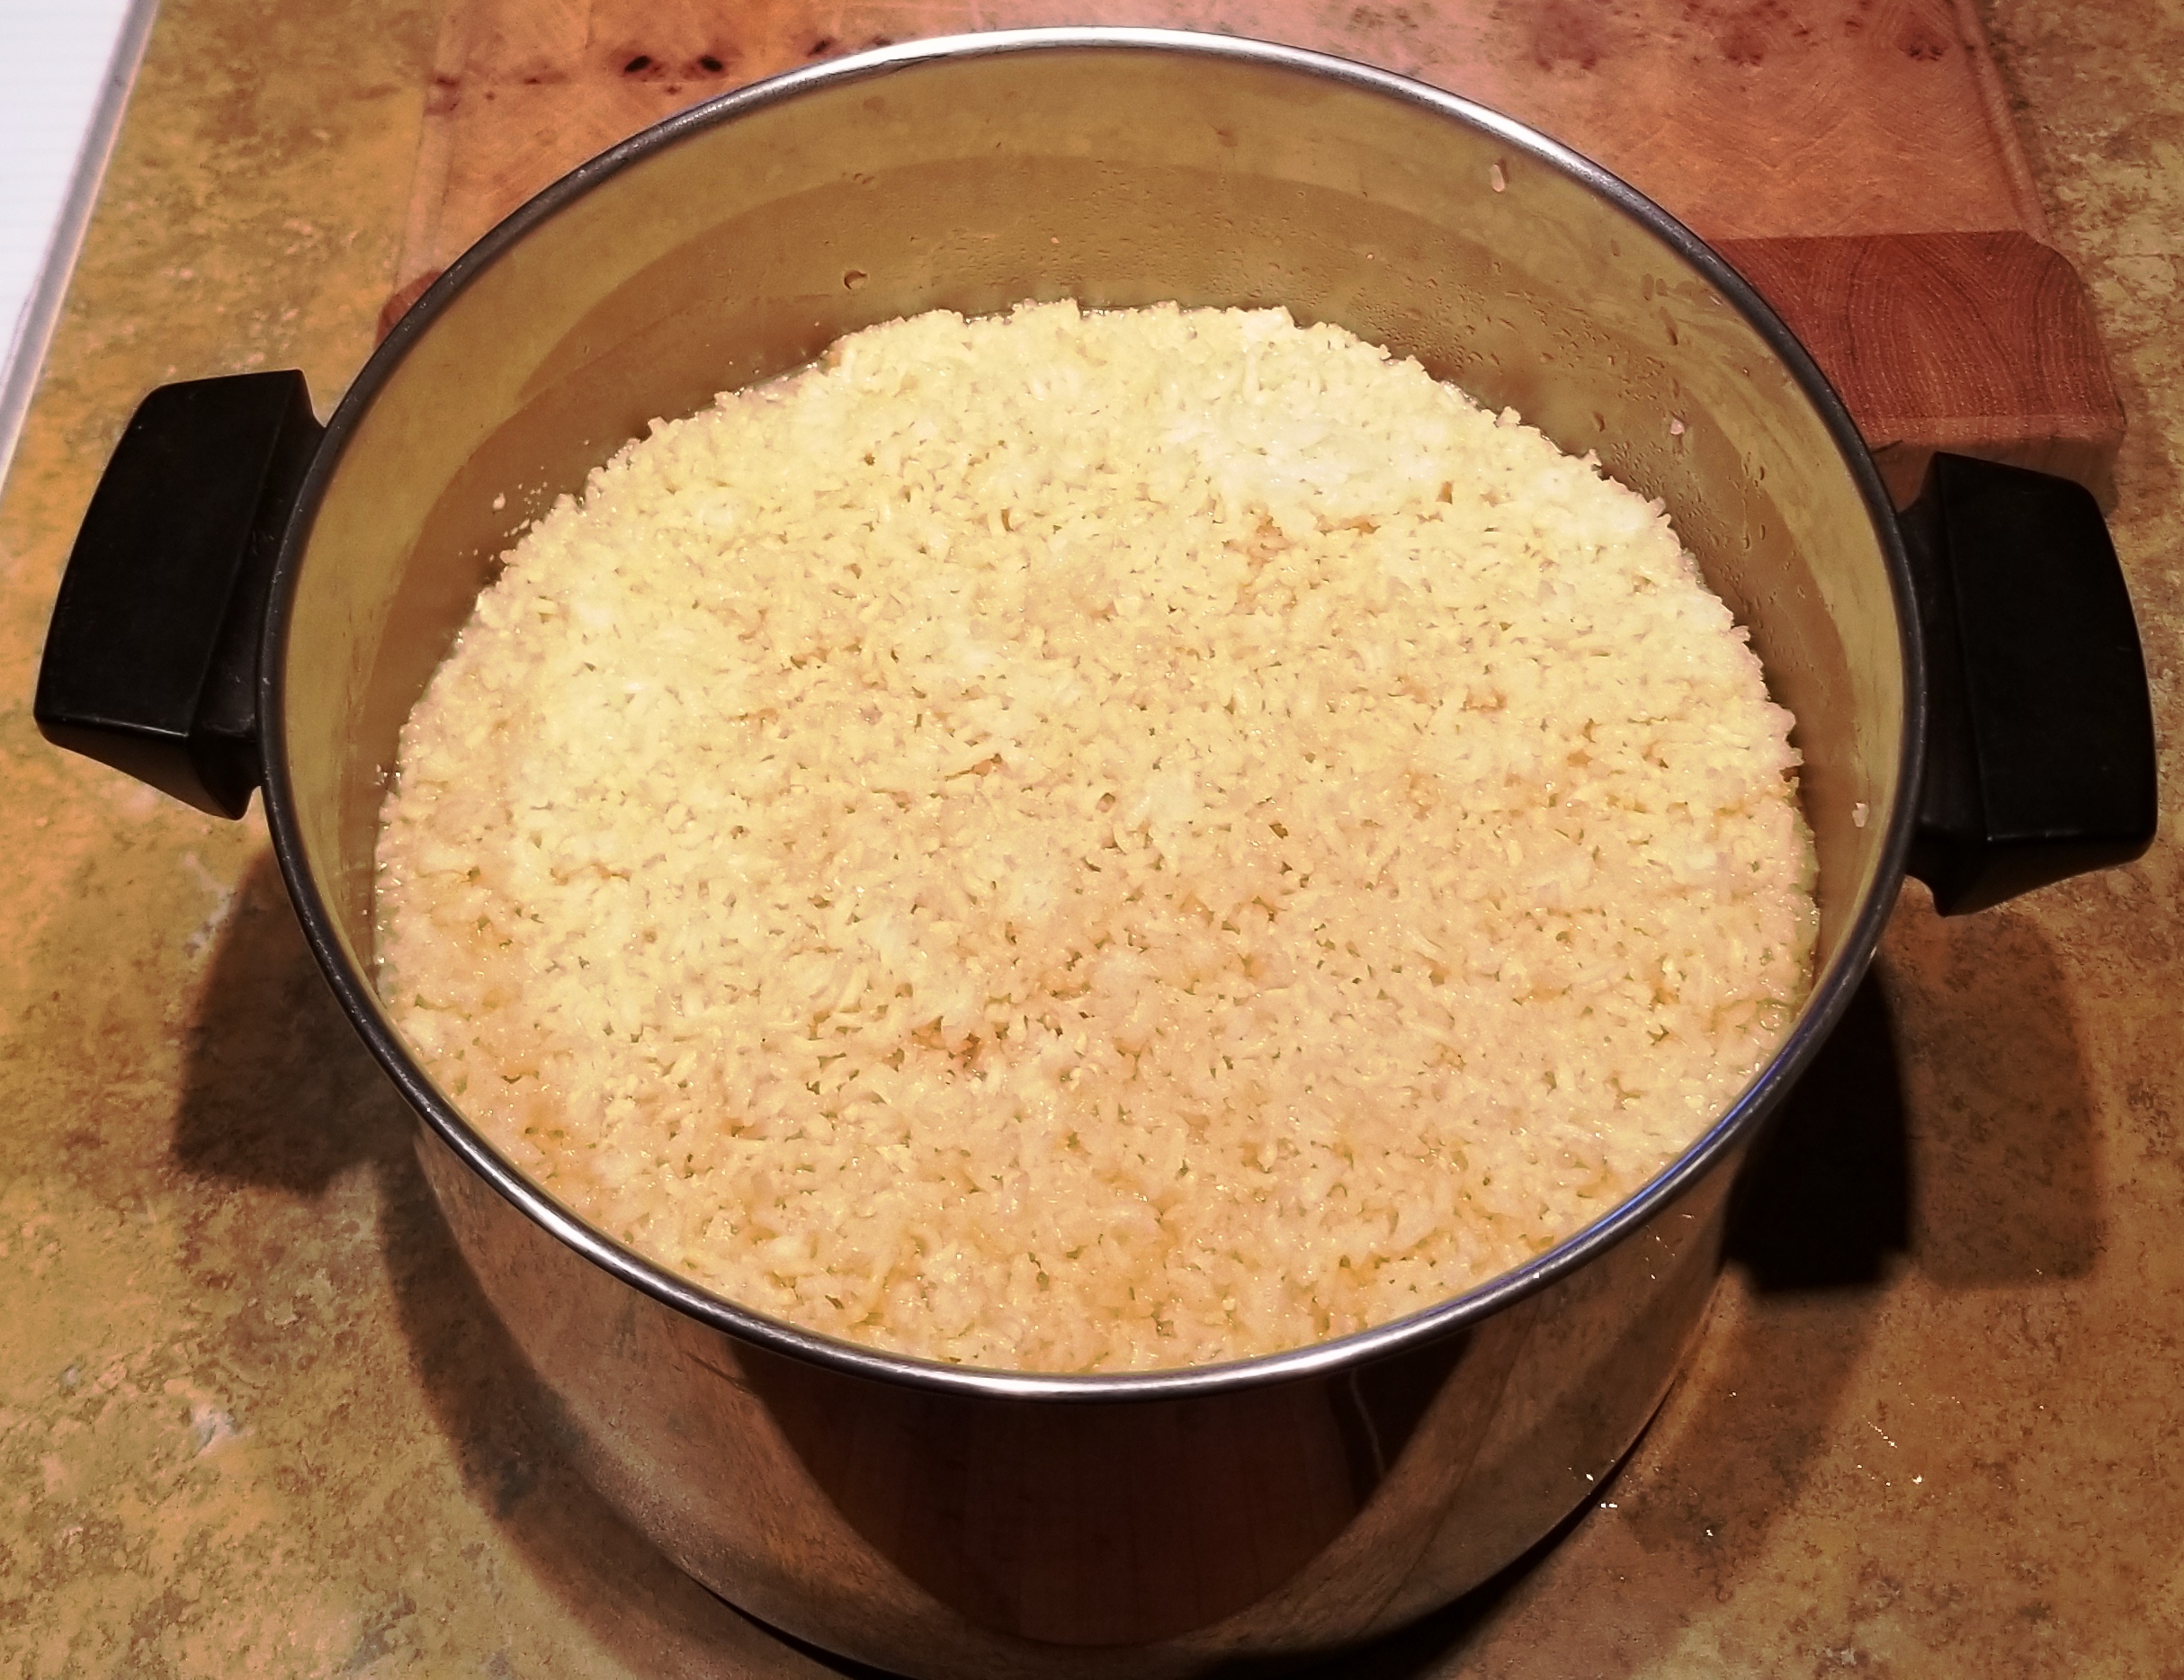
Using a lidded pot that is of a size that will just accept the sieve, steam the rice with enough water for about one hour. Do not allow the rice to touch the water, and place a dish towel over the rice and under the lid to prevent condensed water from dripping onto the rice. After an hour test the rice for doneness. It should be translucent, slightly sticky, and of a chewy texture when bitten. It is important to get the correct consistency.

Turn the rice out on to a sanitized baking sheet. Fluff the grains to separate them, and allow to cool to 30 °C (86 °F.)

At this point the rice is ready to be inoculated with the aspergillus strain of your choice: Japanese sake strain koji, the Korean makgeolli strain nuruk, Chinese hóng qū mǐ, (red yeast rice) or Shanghai yeast ball.

Jasmine Rice Wine Recipe

1.5 kg Thai sweet rice

8 tbs Chinese jasmine tea, in 4L filtered water

White Labs California ale yeast.

280 gr Cellar Science (R) Japanese white koji,

Make a Moto (Koji starter)

Make a moto

To make the rice wine starter steam 300gr of the rice as previously described. Mix the white koji rice well into the cooled sweet rice, and turn the mixture into a pot. Cover with a cloth and keep warm for 24 to 48 hours, stirring occasionally, until a fine white fuzz appears on most of the grains.

Main Mash

Strain the wine liquid from the rice solids.

Steam and cool the remaining 1.2 kg of rice, and add this to the pot, along with the four liters of cooled jasmine tea, and the yeast. Keep the pot warm for 7 to 10 days, until any fermentation activity stops and the rice is liquified. Putting the pot in an oven with the light on works well.

Clarify

Finish fermenting and settling.
Clarify and age.

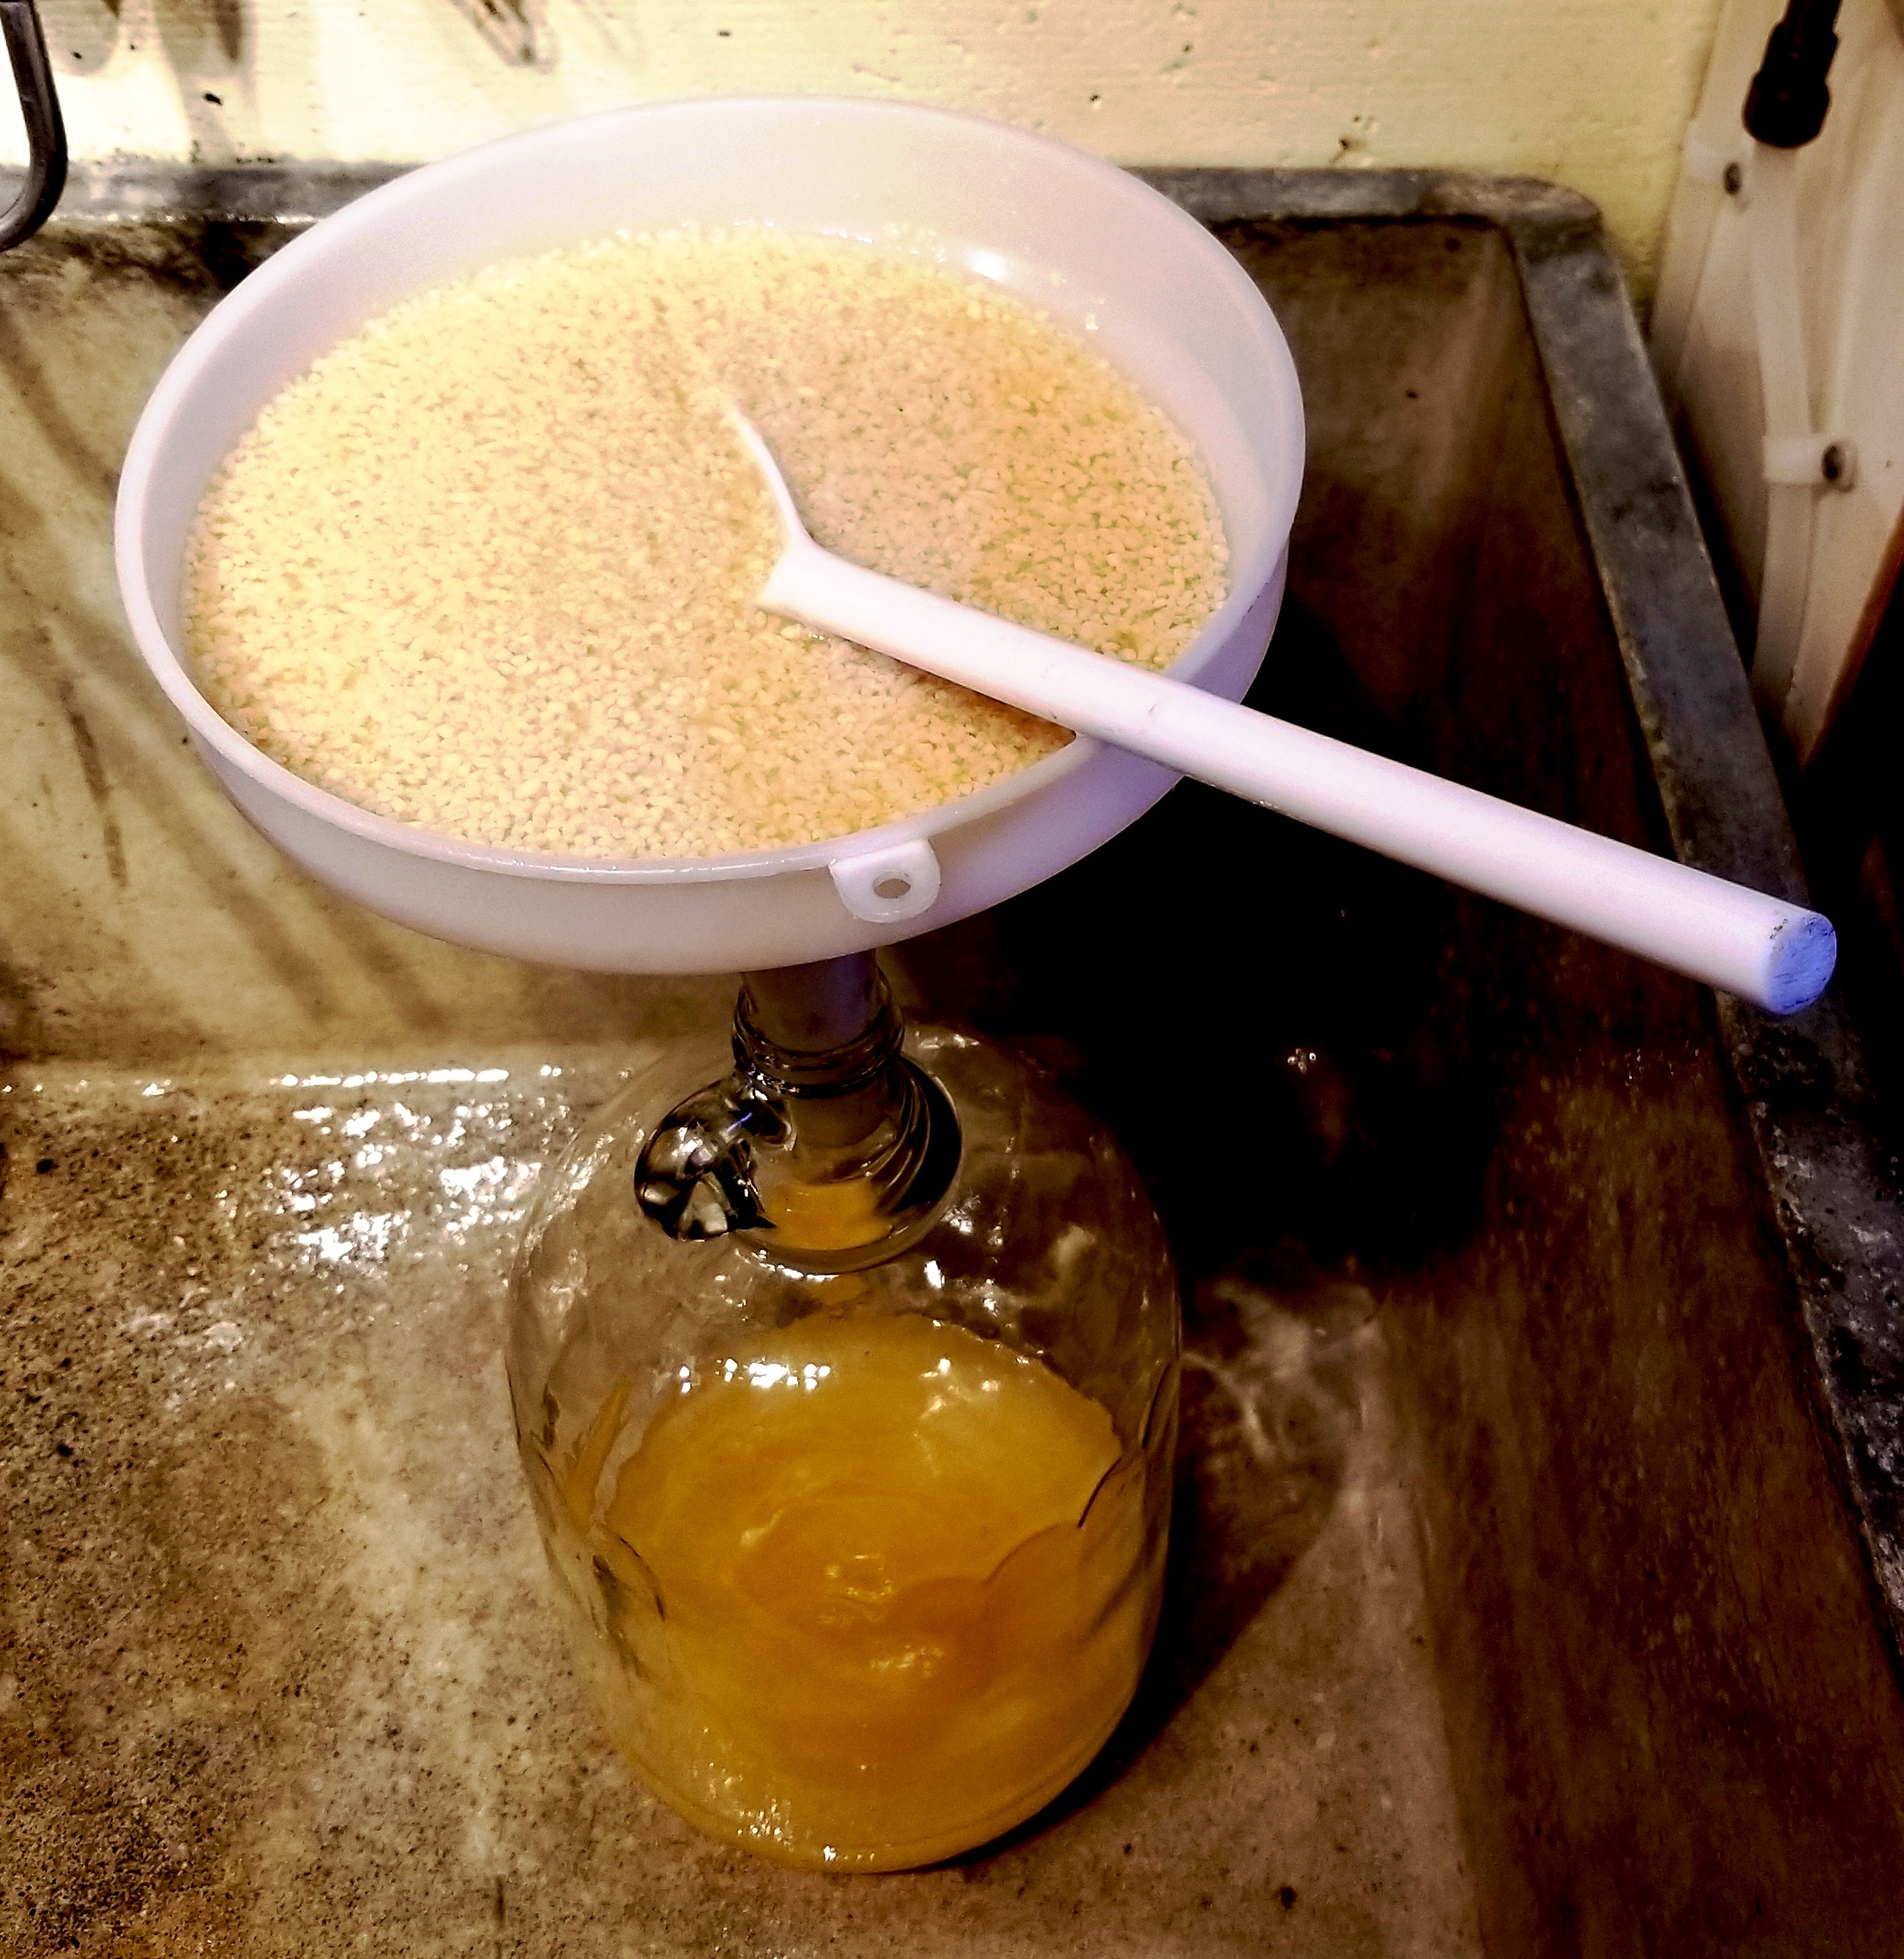
Strain the solid rice remains from the liquid, into a jug. Allow it to finish fermenting, and settle out the solids. This will take 2 to 3 months.

When the liquid is clear syphon it into a clean jug, leaving the sediment behind. It should be tart and tannic, with a fruity nose and hint of sweet.

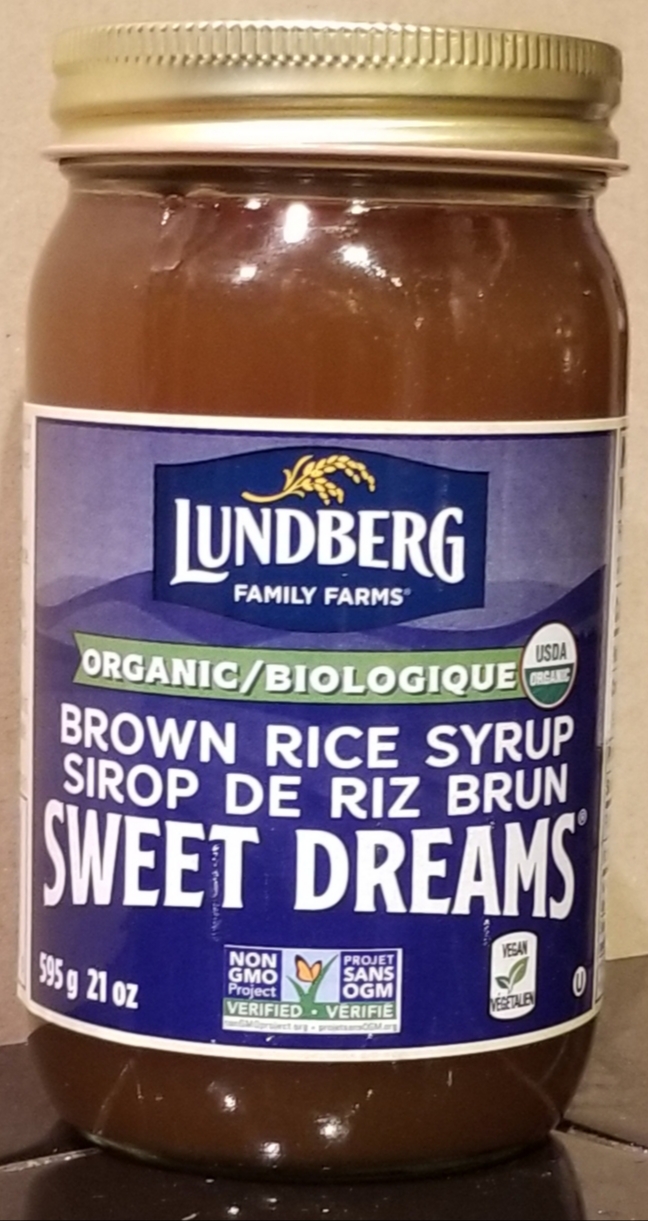
Sweeten it further to your taste with brown rice syrup. If this causes an unwanted haze, use wine clarifier and rack it again.

Sweeten with brown rice syrup.

The rice wine is ready to bottle. It will improve with age.

Boza: Ancient Fermented Sourdough Drink

Boza is a fermented grain beverage widely popular in Turkey, from where it has spread to the Balkan States, the Levant, and even as far as Egypt. The history of boza, and its production from grains such as millet, barley, and wheat, and its fermentation with various sourdough starters, is fascinating.

Balkan style boza from millet

What is Boza?

Boza is made from extant local grains cooked to a porridge, inoculated with a yeast or sourdough starter, and allowed to ferment for a short time. The porridge can also be made with various botanicals as flavoring agents. 

After fermenting, the solids are strained out and a sweetener such as sugar or honey is added. It will contain about 1% or less alcohol by volume at this point, but also a rich strain of probiotics and vitamins. The consistency can vary from smooth like buttermilk, to a pudding that you eat with a spoon. The flavor is sweet/tart, and filled with umami. 

Boza History

Records of making and consuming grain beverages go back at least 9000 years, with mentions of millet boza specifically, traced as early as the 10th Century CE among the Turkic peoples. Its popularity then spread to the Caucasus and Balkan regions.  

The people of the Ottoman Empire notably became its very fervent fan base. From the 14th to the 16th Centuries boza making was a common trade. By the mid-1500s however, the custom of mixing boza with opium brought on the wrath of the Sultan, who banned its manufacture. With the rise of Islam, and prohibition of alcoholic drinks in the 17th century, boza was again prohibited and all boza shops were closed. This prohibition would be enforced, and then relaxed, several times in Ottoman Empire history. Still, travellers were able to find boza widely drunk, and at one time there were 300 boza shops employing over a thousand people in Constantinople alone.

Boza Ingredients

While boza from the the Balkans is usually made from millet, in modern Turkey bulgur (cracked parboiled wheat) is often used, and recipes can also contain rice. In Egypt, barley is commonly used. Some Balkan recipes call for baked wheat flour instead of bulgur, and sometimes maize (corn) is included.

Boza was traditionally a tart, and sometimes quite alcoholic beverage. After the prohibitive ruling by the Sultan, a sweet and non-alcoholic version was introduced in the 19th century and became much more popular than its sour and alcoholic predecessor. In 1876, brothers Hacı İbrahim and Hacı Sadık established a boza shop in Istanbul’s Vefa district that continues to serve sweet boza to this day. Modern Boza is allowed to ferment very briefly, perhaps 20 hours or so, and is sweetened with raw or turbinado sugar or honey before being refrigerated to inhibit further yeast activity.

Turkish style boza from bulgur with chickpeas

Botanicals

Historically boza was served with grape molasses (Greek: Petimezi) from Kuşadası, powdered cinnamon, cloves, ginger and grated coconut. Modern touches include garnishes such as mint, or pieces of fruit like pomegranate or persimmon. Some modern recipes may add a vanilla bean during the cooking process.

Fermentation Organisms

Traditionally, a sample saved from a previous batch was used to initiate the fermentation process, in a way similar to how sourdough bread is inoculated. Today the beginner can use a commercial sourdough starter, or create their own using a flour and water mixture exposed to the local ambient air.

Lacking these options it is possible to start a boza batch by adding yogurt and baker’s yeast. Alternately, mixtures of baker’s yeast and probiotic lacto/pedio bacteria blends can substitute.

Preparing Boza

Wash and cover the grains with fresh water

Soak the grains several hours or overnight

Drain the soak water from the grains and add more water to cover them

Cook the grains until they are soft adding water as needed

Liquefy the cooked grains in a blender with the some of the cooking water

Strain out the solids with a fine mesh strainer back into the cooking pot

Add the sugar, and more water to the desired finished quantity

Cool the liquid to lukewarm temperature and add the sourdough starter, (or yeast/yogurt) cover with a towel or cloth

Move the container to a warm place (such as an oven with the light on) at 21 – 27 ºC (70 – 80 ºF)

Ferment for 24 to 72 hours, stirring occasionally, and depending on how sour you wish to make it

Strain and transfer the liquid to a plastic jug, add finishing sugar, and refrigerate

Loosen the jug’s cap occasionally to release excess pressure

The boza will continue to ferment slowly and become carbonated and stronger in ABV

Serving Boza

In Turkey, boza is typically served cold in water glasses, perhaps ones with a handle like a mug. For additional flavor, it is often sweetened with sugar or grape molasses, topped with cinnamon and roasted chickpeas. A dessert spoon is sometimes supplied as well, as the boza can be as thick as a pudding, although it is usually about the consitency of milk kiefer.

Egyptian Boza with Date Sugar, Date Syrup and Ajwain Seed

Boza Health and Nutritional Benefits

Researchers that studied boza samples made from maize, wheat, and rice flours determined that on average they consisted of 12.3% total sugar, 1.06% protein, and 0.07% fat. Boza also contains vitamins A, B, and E, in a highly bioavailable form, and it provides the health benefits of a probiotic drink with its variety of lactic acid bacteria cultures.

A myth in the Balkan countries suggests that drinking boza regularly makes women grow bigger breasts! While there is no scientific support to this claim, some women are convinced that it works.

Balkan Boza Recipe 2 litres

250g Millet, 280g Turbinado sugar, 150ml Sourdough starter, 1.5 litres Water

Turkish Boza Recipe 2 litres

200g Bulgur, 55g Brown rice, 200g Raw sugar 150ml Sourdough starter 1.5 litres Water

Egyptian Recipe 2 litres

250g Pot Barley, 200g Date sugar, 150ml Sourdough starter, 1.5 litres Water, 100g Date syrup, Toasted Ajwain seed

Roasted Chickpea Recipe

1 can (398 ml) garbanzo (chickpea) beans, drained, skins removed, dried with paper towel. Coat with 1 Tbs cold-pressed grapeseed oil; roast 30 minutes at 190 ºC (375 ºF)) turning frequently. Toss with zest of 1 lime, 2 tsp white wine vinegar, sea salt to taste. Return to oven 3 minutes; cool. Store in airtight container.

Grape Molasses (Petimezi)

1.35 litres white grape juice reduced by boiling to 250 mililitres

The Internal Alembic Still

A closer look at a primitive process.

Home distilling in Southeast Asia

Recall that the alembic still has three basic components: the retort, the condenser, and the receiver. The alchemists of old constructed finely crafted clay and glass instruments for their distillations. But their secret processes would inevitably become known, and attempts to duplicate them with household utensils would be many.

In Asian cooking, large pots and deep woks are common. As it happens, their size and shape make them ideal for constructing what is called an “internal alembic” still. In this configuration, the mash or wine is put into the large pot, which is heated and becomes the retort. For the receiver, a small wok is placed on a pedestal, centered inside the pot. A condenser is constructed from a wok large enough to span the top opening of the pot. Cold water is circulated through the condenser wok, and vapours from the heated wine or mash condense on its cold bottom surface. As this liquid accumulates, it drips off the surface and down into the receiving lower wok.

A look through many a modern kitchen, and some not so modern, will often find the basic materials for constructing a modest internal alembic. Soup pots of four to six liters make a retort. Stainless steel bowls of various sizes are commonly available at superstores. A tall stemmed glass makes a good pedestal. The trick is to assemble the parts, charge the still, heat on a stove, and with a few tweaks and techniques, harvest the liquor. The other trick being, of course, to make sure you live in a country where home distilling is legal!

The Basics of Distillation

Introduction to an ancient art.

An alembic (from Arabic: الإنبيق, romanized: al-inbīq, 

Distillation is a process of separating and concentrating the components of a liquid mixture. The basic procedure has been practised since the time of the Sumerians of ancient Mesopotamia. As these were the people who also invented beer, it should be no surprise that they also figured out how to make beer even stronger!

Distillation relies for its success on the fact that different compounds in a liquid mixture experience a “phase change” (turning from solid to liquid to vapour) at different temperatures. With a mixture consisting of water and alcohol-related compounds, separating these components can be accomplished in two ways: either freezing the water, or boiling the alcohol.

Freeze distillation, sometimes called “jacking,” relies on the fact that water freezes at a higher temperature than alcohol. While this seems simple enough, in practice it has two major drawbacks. First, it requires a temperature that is much lower than the freezing point of water (-20F or -28C) to get much of an alcohol concentration. This can’t be achieved with a home freezer. More importantly though, freezing and removing the water crystals serves to concentrate not only desirable ethanol, but also fermentation compounds such as methanol, acetone, fusel oils, and other bi-products of yeast fermentation. Drinking a jacked beverage practically ensures a raging hangover as a result.

Heat distillation, in contrast, relies on the fact that the various fermentation components evaporate at a lower temperature than water. It’s also a feasible process for those who live in areas where there are never sub-zero ambient temperatures! In this procedure the liquid mixture is carefully heated in a vessel known as a retort, and the vapours rising from the liquid are directed into a condenser, and from there into a receiver.

To separate the components of a fermentation, the ancients invented “alembic” or “pot-still” distillation, the type of process used to make flavourful spirits from dark sugar solutions, wine, or beer from malted grains. These precursors tend to be low in alcohol, about the same as regular beer or wine (5 to 15 percent alcohol by volume or ABV.) They are first run through the still and all the output is collected in what is called the “stripping run.” This concentrates the ABV to about 30 to 40 percent.

A second “spirit run” concentrates the alcohol further. These various components, or “cuts” are collected separately, and then blended selectively at the distiller’s discretion. As the temperature of the liquid rises, successive compounds begin to evaporate, depending on their boiling point. The first to evaporate, called “foreshots,” are compounds such as acetaldehyde, ethyl acetate, and methyl alcohol. These are not pleasant tasting, and are even poisonous. They are usually discarded.

As the temperature continues to rise, various esters begin to evaporate in a distillation component known as the “heads.” As these tend to be fruity in taste and aroma, they can enhance the flavour of the eventual product, when used judiciously. Knowing how much heads to retain is one of the arts practised by the accomplished distiller.

At about 78C (173F) ethanol, along with some flavour compounds, begins to evaporate into the condenser. This component, known as the “hearts,” becomes the major constituent of the eventual product.

Alemic stills for making Mezcal in Oaxaca, Mexico. Look for "Destillado en Ollas" on the label.
Clay alembic stills for making Mezcal in Oaxaca, Mexico. Look for “Destilado en Ollas” on the label. Source: “Mezcal El Cortador”

Finally, the liquid begins to evaporate its “tails.” Consisting of higher alcohols such as isoaminol and isobutanol, these compounds also carry tastes and aromas we associate with brandy, whisky, and rum distillates. Again, knowing how much of the tails to retain to create complexity and interest in the final product is an art gained by the distiller through experience and sensory awareness.

To make a very pure alcohol such as vodka, a process known as “fractional distillation” is employed. Also called “rectification,” it is used when the liquid components have boiling points that are very close together, such as those in a white sugar wash. The vapours are directed into a tall column where they successively condense, descend, and evaporate again as they rise multiple times, until only a very pure ethanol emerges to be directed into the condenser. In alembic distillation, the distillate must be processed several times to concentrate and purify the product. With fractional distillation the product is purified with only one run through the still.

A Timely Translation Teaches Us Again How to Drink

The story is told of a student of philosopher and spiritualist George Gurdjieff, who approached him one day with wonderful news. “I’ve stopped smoking!” he exclaimed. “Great,” it’s said Gurdjieff replied, offering him one of his own long, thin, Russian cigarettes. “But, have you stopped NOT smoking too?”

This philosophy, moderation in all things–even moderation, is wonderfully and humorously espoused in the 16th Century book How to Drink by Vincent Obsopoeus (ca. 1498-1539). In a new release, Michael Fontaine, Professor of Classics at Cornell University makes the original Latin text accessible to 21st Century readers with an up-to-date translation that includes clever neologisms and familiar terms. As a bonus, the original Latin is included on the facing pages for those who wish to practice their classic language skills!

Obsopoeus was German humanist, Latin poet, and translator active in the Reformation. In Germany at the time, the climate had become uncharacteristically hot, and German grapes, usually low in sugar and hence capable of making only weak wine, were instead turning out fearsomely strong drink. As a result, it seemed to Obsopoeus, the entire nation had become a citizenry of drunks.

Now, according to Obsopoeus, taking a bit–and sometimes quite a bit–of wine is a perfectly fine passtime. But “if you drink in an uneducated manner, wine will hurt you.” On the other hand, “if you are educated about your drinking…wine is enjoyable and good.” Obsopoeus endeavors to educate his readers in good drinking practices.

Falarnian was the type of wine he most favored. This was an ancient Roman vintage, something akin to Sherry, with the grapes grown on the slopes of Mount Falernus in southern Italy. With a cult following at the time, it was a white wine, though produced from black grapes. Like Sherry, it was strong, as much as 15% alcohol. Harvested after late frosts, it was allowed to mature in amphorae for as long as 20 years, turning it amber to dark brown in color. Also like Sherry, it could vary from dry to sweet in flavor.

So enamored was he of this gift of the harvest that he writes a litany of praise to the god of wine, Bacchus and His power. “You make men rich, handsome and genteel! You alone, my lord, can gladden the gods of heaven.”

Vincent Opsopoeus

Vincent Obsopoeus

Obsopoeus offers hints and tips about how the gentleman should approach the indulgence of wine. Drink at home with your wife he recommends. Or drink moderately with friends and family, always being reserved and discreet. Honor the god Bacchus, and always be appropriately thankful and mindful of his gift of alcohol.

On the contrary, getting smashed and vulgar every day is a terrible sin, and an insult to the divine gift offered to humankind by Bacchus. Obsopoeus spends an entire section of the book describing in lurid detail the degradation and debauchery exhibited by his fellow citizens while under the terrible influence of their own self-poisoning.

But at this point Obsopoeus introduces a plot twist to his book. How to win drinking games: a skill he studiously practiced in his younger years! Evidently there was only one kind of 16th Century drinking game: take turns downing glasses of wine until all but one player passed out.

Obsopoeus offers his tried-and-true strategies for winning these drinking contests, including several methods of cheating. You’ll have to read the book to discover his secrets, but there is one worth mentioning up front: don’t try to compete with women! “The reason, you’ll find, is that women who indulge are equipped with a breathtaking ability to hold their liquor. They put Bacchus Himself to shame when they drink wine.”

And one more hint: to relieve a hangover, get yourself an amethyst crystal. The name of this sure-fire cure comes from the Greek a- (against) metfhyo (drunkenness.) Bet you didn’t know that!

Obsopoeus published this, his most famous work, in 1536. He was about 38 when he wrote the book, aimed in part at hard-drinking 19 to 25-year-old college students. He addresses bro/frat culture with the admonitions of experience. By 41 he was dead, having wished he had taken his own advice in his youth. Hopefully, very many medieval bros heeded his message; here we are today, with the benefit of hearing it anew. Enjoy your drink, but respect its power. To Bacchus he exclaims “For crying out loud, I’ll be damned if You can’t resurrect dead bodies with the juices that flow from Your vine!”

Robert Rivelle George is the author of “The Umami Factor: Full-spectrum Fermentation for the 21st Century”

HOW TO DRINK
A Classical Guide to the Art of Imbibing
By Vincent Obsopoeus
Translated and Introduced by Michael Fontaine
320 pages Princeton University Press $16.95